How to Make Coconut Cream Ice Cream Recipe at Home
Table of Contents
How to Make Coconut Cream Ice Cream Recipe at Home
Do you remember the simple joy of a cold, sweet treat on a hot summer day? Making your own frozen desserts at home is truly magical. You don’t have to rely on store-bought ice cream with unknown additives or too much sugar.

With this coconut cream ice cream recipe, you control every ingredient. You can adjust the sugar to fit your health goals. And you’ll get a rich, creamy texture that’s as good as any store-bought ice cream.
Making these dairy-free treats is easy and rewarding. Whether you’re having a dinner party or just want a midnight snack, this recipe is perfect. It’s time to enjoy the freedom of making your own treats.
Key Takeaways
- Learn to create professional-grade frozen desserts without expensive equipment.
- Take full control over sugar content and avoid unwanted artificial preservatives.
- Master a versatile, dairy-free base that works with any flavor profile.
- Enjoy the cost-effective benefits of making treats in your own kitchen.
- Customize your snacks to perfectly match your unique dietary preferences.
Understanding the Basics of Coconut Cream Ice Cream Recipe
Learning to make a coconut cream ice cream recipe starts with knowing your ingredients. You need a base that’s both structured and creamy. Coconut products are a great choice because they’re rich like heavy cream but come from plants.
Why Coconut Cream is the Ideal Dairy Substitute
Coconut cream is perfect because it’s very fatty. This fat content gives your ice cream the essential body it needs. It also makes the ice cream scoopable and smooth.
Many people love using coconut cream because it’s so flexible. It works well with sweeteners and flavors, making it ideal for vegan ice cream recipes. It stays creamy even when frozen for a long time.
The Science of Fat Content in Frozen Desserts
Fat is key for the texture of frozen treats. In coconut milk ice cream, fat molecules make it smooth. They prevent ice crystals from forming, keeping it creamy.
Getting the fat content right is crucial. Too little fat makes it icy. But coconut cream’s high fat ensures a luxurious texture like dairy ice cream.
Health Benefits of Choosing Coconut-Based Treats
Plant-based treats are great for certain diets. A vegan ice cream recipe avoids lactose and casein, good for those with dairy issues. Plus, coconut desserts are cleaner than many store-bought ones.
By making your own coconut milk ice cream, you control what goes in it. You can skip artificial stuff found in many commercial brands. This way, you get a tasty, wholesome treat that fits your health goals.
Essential Ingredients for a Perfect Dairy-Free Dessert
To make a creamy coconut dessert, you need more than just freezing a mix. Choosing the right ingredients is key. This ensures your dessert tastes professional and stays stable. Each part of the mix affects how the ice cream turns out once it’s frozen.
Choosing High-Quality Full-Fat Coconut Cream
The base of any dairy-free dessert is the fat in coconut cream. Always pick full-fat canned coconut cream over the thinner carton versions. This high fat content makes your dessert rich, preventing it from becoming icy or hard.
Selecting Natural Sweeteners for Better Texture
Sweeteners do more than add flavor to your coconut milk ice cream. They also affect its freezing point. Liquid sweeteners like maple syrup or agave make it smoother than granulated sugar. For a lower-glycemic option, try monk fruit or erythritol, but you might need to add alcohol or glycerin to prevent hardening.
The Role of Emulsifiers and Stabilizers
Stabilizers keep your dessert smooth by preventing ice crystals. They bind water, making your dessert scoopable for longer.
Using Guar Gum or Xanthan Gum
Guar gum and xanthan gum are top choices for a reason. A small amount, like a quarter teaspoon, makes your dessert feel luxurious and smooth. Make sure to whisk them well to avoid clumps.
Natural Alternatives like Arrowroot Powder
If you don’t like gums, arrowroot powder is a great natural thickener. It keeps your dessert smooth without changing the taste. Here’s how these ingredients affect your dessert.
| Ingredient Type | Primary Function | Texture Impact |
|---|---|---|
| Full-Fat Coconut Cream | Provides richness | Creamy and smooth |
| Maple Syrup | Sweetens and softens | Prevents hard freezing |
| Guar Gum | Stabilizes structure | Prevents ice crystals |
| Arrowroot Powder | Thickens base | Silky mouthfeel |
Selecting the Right Equipment for Homemade Coconut Ice Cream
Making a delicious frozen treat at home is more than just using good ingredients. The tools you pick are key to how it tastes. Whether you’re new or experienced, knowing your options is crucial.
Comparing Electric Ice Cream Makers
Electric machines are top-notch for a creamy texture. They have a motorized paddle that churns the mix while it freezes. This adds air, stopping big ice crystals in your homemade coconut ice cream.
Look at the size and cooling method when buying a machine. Compressor models are easy because they don’t need pre-freezing, but they cost more. Bowl-freezer models are cheaper but need planning.
Manual Methods for Small Batches
Manual methods are great for small batches if you don’t have space or like doing things by hand. Use a metal bowl in a bigger bowl with ice and rock salt. Whisking by hand imitates machine churning.
The “freeze and stir” method is also popular for manual making. Put your mix in a shallow dish and stir every thirty minutes until it’s right. It’s hard work but makes a delicious frozen treat without big appliances.
The Importance of Pre-Chilling Your Equipment
Pre-chilling your equipment is essential, no matter the method. If your bowl isn’t cold, the mix will melt before aerating. This makes it icy instead of smooth.
Always chill your freezer bowl in the coldest part of the freezer for 24 hours before starting. Ready tools mean perfect texture every time.
| Equipment Type | Best For | Effort Level | Texture Quality |
|---|---|---|---|
| Compressor Machine | Frequent batches | Low | Excellent |
| Bowl-Freezer Machine | Occasional use | Medium | Very Good |
| Manual Whisking | Small portions | High | Good |
| Freeze and Stir | Beginners | Medium | Fair |
Preparing Your Coconut Base for Optimal Texture
Getting a smooth texture in your frozen treats starts before you even turn on the machine. How you mix your ingredients can make all the difference. By focusing on the prep work, you can make your homemade coconut ice cream feel like it came from a pro.

Chilling Your Cans for Separation
For the best results, chill your coconut cream cans in the fridge for at least 24 hours. This step is key because it lets the coconut fat solidify on top. Proper separation is what makes your base rich and creamy.
Here’s how to do it right:
- Put your cans in the coldest part of your fridge.
- Don’t shake the cans before opening them.
- Only scoop out the solid cream, leaving the water for other uses.
Whisking Techniques for a Smooth Consistency
After you’ve got your solid cream, whisk it well to mix everything evenly. A good whisk or an immersion blender can help get rid of lumps. This step is crucial for coconut milk ice cream, making sure all flavors blend well.
Strive for a thick, glossy, and smooth texture. Undissolved sugar can make your ice cream gritty. So, whisk carefully to get it just right.
Balancing Flavors Before Freezing
Freezing can dull the flavors of extracts and spices. Taste your base and adjust the seasoning when it’s still warm or slightly chilled. If it tastes good, add a bit more to keep the flavor strong after it freezes.
Check the sweetness and flavor of your homemade coconut ice cream base before freezing. A well-balanced base leads to a more enjoyable dessert. By tweaking your ingredients now, you’ll get a delicious coconut milk ice cream every time.
Step-by-Step Guide to Churning Your Ice Cream
You’re all set to turn your mix into a smooth, scoopable treat. Making easy coconut ice cream at home is rewarding. It takes patience and careful watching during the final steps.
Setting Up Your Ice Cream Maker
First, make sure your machine is put together right. Most electric ones need the freezer bowl frozen for at least twenty-four hours.
Always turn the machine on before adding your chilled base. This step stops the mix from freezing too fast. It could jam the dasher and mess up your easy coconut ice cream.
Monitoring the Churning Process
As the dasher moves, the mix will start to thicken. This takes about fifteen to twenty-five minutes, depending on your machine.
Watch how the mix changes. It should be smooth and aerated, not clumpy. If the motor sounds strained, it’s almost done.
Knowing When to Stop Churning
Stopping at the right time is key to a perfect ice cream. Stop when it’s as thick as soft-serve yogurt.
Don’t churn too long. Over-churning can make the fats separate, leading to a buttery, unpleasant texture. Stopping early keeps your easy coconut ice cream light, creamy, and ready for the freezer.
Mastering the No-Churn Method for Creamy Coconut Dessert
Learn to make a rich, easy coconut ice cream with just a few ingredients. This method is great for quick treats without the need for special equipment. By using the right techniques, you can get a professional-quality dessert in your freezer.

The Role of Condensed Coconut Milk
Condensed coconut milk is key to your creamy coconut dessert. It’s been made to have less water, which stops ice chunks from forming. This type of milk adds sugar and fat, keeping your mix smooth in the freezer.
It also prevents ice crystals from forming, making your dessert smooth and creamy. This ingredient blends well with others, giving you a dessert that’s easy to scoop.
Whipping Techniques for Aeration
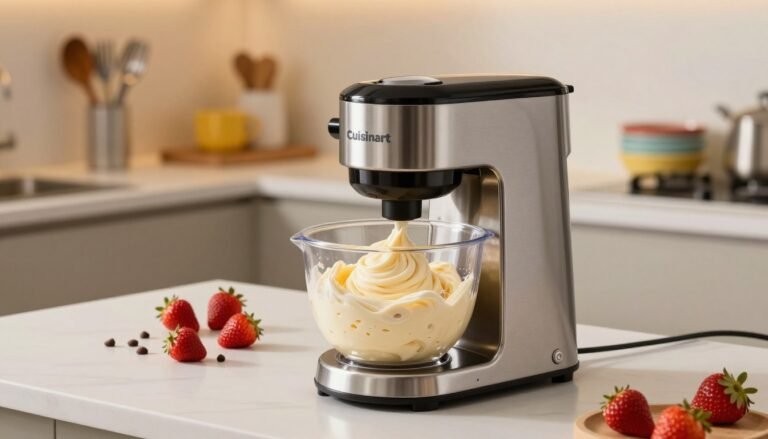
Aeration is crucial for no-churn ice cream. Since you’re not using a machine, you must whip the mix yourself. Use a hand mixer or stand mixer to whip the coconut base until it’s light and airy.
- Start on a low speed to combine ingredients.
- Increase to high speed to trap air bubbles.
- Continue until the mixture doubles in volume.
Freezing Times and Temperature Control
Keeping the right temperature is key for your dessert’s quality. Place your container in the coldest part of the freezer. This quick freeze keeps ice crystals small for a smooth texture.
Let your mix set for six to eight hours. Try not to open the freezer door too often. This ensures your easy coconut ice cream stays soft and tasty.
| Feature | Churned Method | No-Churn Method |
|---|---|---|
| Equipment | Ice Cream Maker | Hand Mixer/Whisk |
| Texture | Very Dense | Light and Airy |
| Prep Time | Longer | Very Fast |
| Ideal For | Large Batches | Small Batches |
Flavor Variations to Elevate Your Delicious Frozen Treat
Turning a simple base into a delicious frozen treat is easier than you think. By trying different mix-ins, you can make your easy coconut ice cream into a fancy dessert. The trick is to mix flavors well without making the coconut too thick.
Classic Vanilla Bean Infusions
Real vanilla adds a timeless flavor. Scrape vanilla bean seeds into your coconut cream before chilling. This gives your dessert a rich, authentic taste in every bite.
For a stronger vanilla taste, steep the vanilla bean pod in warm coconut milk. Remove the pod before churning. This adds a pro touch to your homemade ice cream.
Adding Fresh Fruit Purees
Fresh fruit adds color and sweetness to your ice cream. Make sure to puree your fruit well and strain out seeds or pulp. This keeps your ice cream smooth.
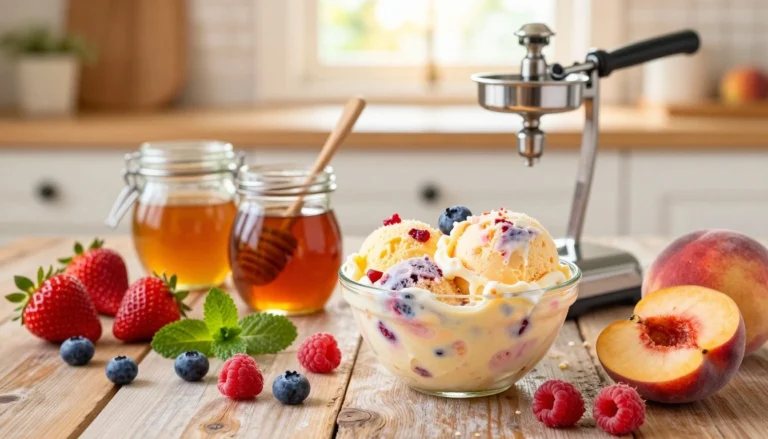
- Strawberries and Raspberries: Blend until smooth and swirl in during the final minutes of churning.
- Mango or Pineapple: These tropical fruits pair naturally with coconut for a refreshing profile.
- Blueberries: Cook them down slightly to concentrate the flavor before folding them into the base.
Incorporating Chocolate Chips and Nut Butters
Chocolate or nut butters add texture. Add them when the ice cream is soft-serve to mix them well. This stops them from sinking to the bottom.
Swirl in nut butters like almond or peanut gently for beautiful patterns. Use miniature chocolate chips for a perfect balance of crunch. These tweaks make your easy coconut ice cream a hit with your guests.
Tips for Achieving the Perfect Scoop Every Time
Serving a creamy coconut dessert is an art that starts when you take it out of the freezer. Your preparation is key, but how you handle the final product matters most. Small changes in your routine can greatly improve your homemade coconut ice cream‘s presentation.
Managing Ice Crystal Formation
Ice crystals form when the freezer temperature changes. To avoid this, keep your container in the freezer’s back, where it’s colder. Airtight containers help keep moisture out, ensuring a smooth texture.
Chilling your base well before churning also helps. Using high-quality fats coats water molecules, stopping ice crystals from forming. This keeps your creamy coconut dessert smooth for weeks.
The Importance of Tempering Before Serving
Don’t scoop your dessert straight from the freezer. Let it temper on the counter for 5 to 10 minutes. This softens the fats, making scooping easier and more professional.
If you’re short on time, the fridge can also soften it. Patience is key to avoid broken scoops and strained wrists.
Using the Right Scoop Technique
Use a high-quality, metal ice cream scoop with a sharp edge. Start scooping at the surface and pull across the top in a steady motion. This creates beautiful, uniform spheres.
If your scoop sticks, dip it in warm water and wipe it dry. This trick prevents the dessert from sticking to the scoop. The table below shows how temperature affects serving success.
| Temperature State | Texture Quality | Scoop Ease |
|---|---|---|
| Deep Frozen (-5°F) | Very Hard | Difficult |
| Tempered (25°F) | Perfectly Smooth | Excellent |
| Softened (35°F+) | Melting Quickly | Too Soft |
Troubleshooting Common Issues with Vegan Ice Cream
Don’t worry if your vegan ice cream didn’t turn out right. Even experts sometimes face problems. Most issues can be fixed with a few tweaks to your method or ingredients.
Fixing Grainy or Icy Textures
A grainy or icy texture usually means too much water or not enough fat. Use full-fat canned coconut cream for a better coconut cream ice cream recipe. If it’s icy, melt it and whisk in xanthan gum or an emulsifier before freezing again.
For no-churn ice cream, whipping the coconut cream well helps. This reduces ice crystals. Consistency is key for a smooth texture.
Addressing Separation During the Freezing Process
Separation happens when coconut milk’s water and fat don’t mix well. This often occurs if it’s not cold enough before freezing. Make sure your base is cold to help fats stabilize.
If your no-churn ice cream separates, whisk it every thirty minutes for two hours. This spreads fats evenly. Proper chilling of your equipment also helps prevent this issue.
Adjusting Sweetness and Flavor Intensity
The freezing process can make flavors less intense. If your vegan ice cream recipe tastes bland, add a bit more vanilla extract or sea salt. These work best when the mixture is soft.
If it’s too sweet, don’t add granulated sugar. It won’t dissolve well in cold mixtures. Use liquid sweeteners like agave nectar or maple syrup. Taste your base before freezing to get the flavor right.
Proper Storage and Serving Suggestions
You’ve worked hard to make a tasty treat. Now, keep it fresh with these storage tips. The right care will keep your velvety texture perfect, even after it’s frozen.
Choosing the Right Freezer Containers
The container you pick is key to keeping your dessert fresh. Use shallow, airtight containers to reduce air around the ice cream.
Metal loaf pans are great because they cool down fast. If you choose plastic, make sure it’s safe for food and BPA-free. This keeps your vegan ice cream recipe tasting great.
Preventing Freezer Burn
Freezer burn happens when moisture evaporates, leaving ice crystals. To stop this, cover the ice cream with parchment paper or plastic wrap before sealing.
Also, store your container in the back of the freezer. This area stays cooler. Avoid the door, as it gets warmer and colder too often.
Creative Toppings and Presentation Ideas
When you’re ready to serve, a few toppings can make it special. Here are some ideas:
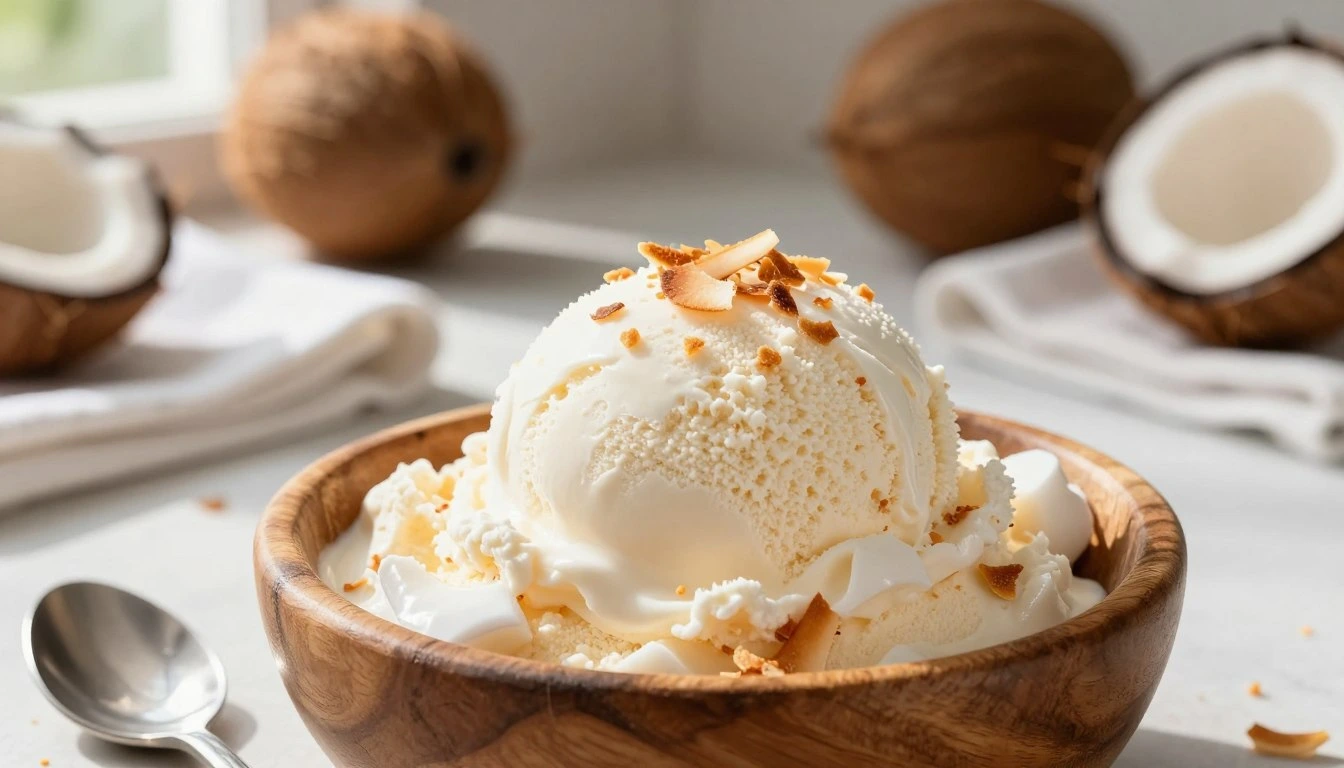
- Toasted coconut flakes for crunch and flavor.
- Fresh berries or warm fruit compote for sweetness.
- Dark chocolate shavings for a rich taste.
- Crushed nuts or seeds for texture and health.
For the best look, let your container sit at room temperature for a few minutes before scooping. This makes the ice cream smooth and easy to scoop.
Conclusion
Making your own coconut cream ice cream turns your kitchen into a sweet shop. You know how to pick the best ingredients and use both churning and no-churn methods. This makes you a pro in the kitchen.
Every time you make ice cream, you get better at it. You can try new flavors and keep your desserts free from dairy. This lets you control every part of your dessert.
Using good equipment and storing it right makes your ice cream look and taste amazing. You can make delicious treats whenever you want. This skill is a treasure for you and your loved ones.
Keep trying new things with fruits, nut butters, and spices. Making great desserts at home is a joy for everyone. Enjoy making your desserts better and relish the fruits of your labor.
FAQ
Can I use light coconut milk for a coconut cream ice cream recipe?
No, it’s not recommended. Light coconut milk has too much water, leading to an icy and hard texture. Always use full-fat canned options like Thai Kitchen for a creamy dessert.
Is this considered a healthy dairy-free dessert?
Yes, this dairy-free dessert is a great alternative for those with lactose intolerance or following a vegan lifestyle. It uses plant-based fats and allows you to control the sweetener, like Lakanto monk fruit for a lower-glycemic option.
How do I make an easy coconut ice cream without a machine?
For an easy coconut ice cream without a machine, use the no-churn method. Combine whipped coconut cream with sweetened condensed coconut milk and freeze, stirring occasionally to maintain smoothness.
Why does my homemade coconut ice cream get so hard in the freezer?
Homemade versions lack chemical softeners found in commercial brands. To keep it scoopable, add a tablespoon of vegetable glycerin or a splash of vodka, as alcohol lowers the freezing point.
What is the best way to incorporate flavors into a vegan ice cream recipe?
For a vegan ice cream, infuse liquid flavors like vanilla or espresso into the base while it’s warm. Fold in solid mix-ins like Guittard chocolate chips during the final minutes of churning.
How long can I store my coconut milk ice cream?
Store your ice cream in an airtight Tovolo container with parchment paper pressed against the surface. It will stay fresh for up to two weeks. After that, it may develop freezer burn or lose flavor intensity.