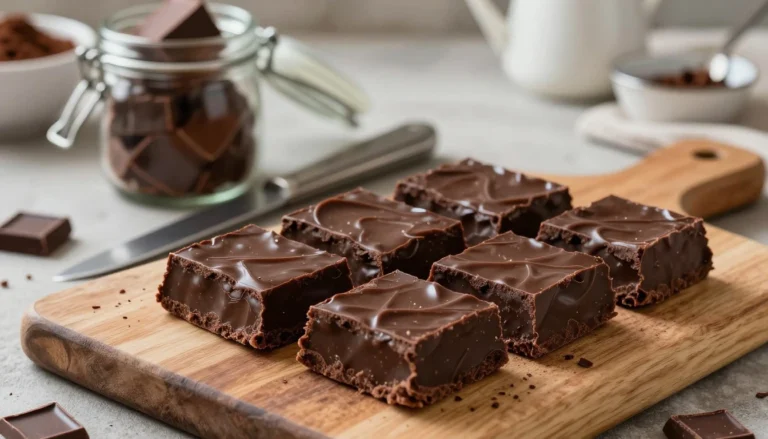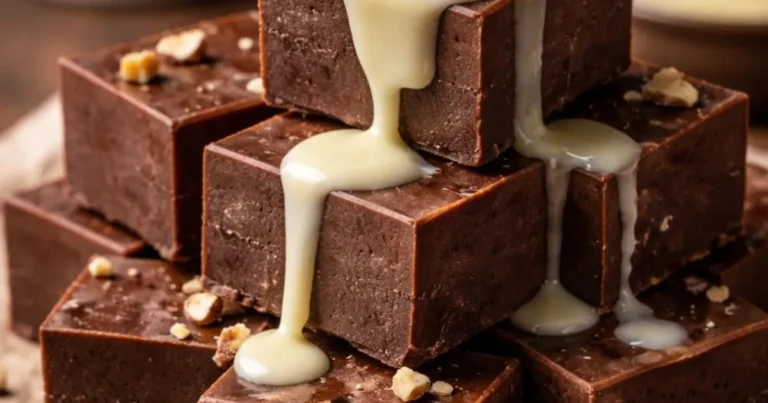
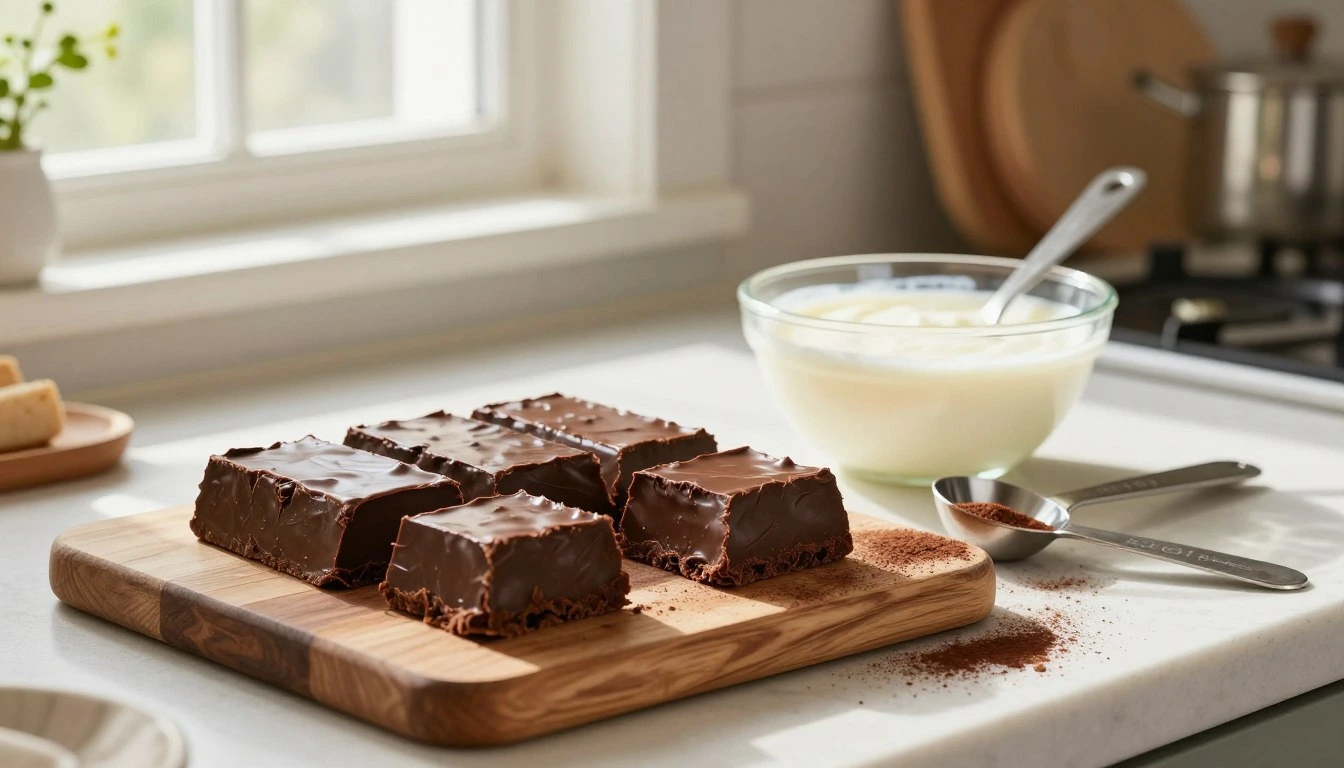
Quick fudge recipe condensed milk for delicious snacks
Table of Contents
Quick fudge recipe condensed milk for delicious snacks
Ever craved a rich treat but didn’t want to spend hours cooking? We’ve all been there, especially during the holiday rush when time is tight. Imagine whipping up a top-notch dessert in under five minutes without heating up your stove.
This quick fudge recipe is your go-to for sudden sweet urges. It uses a simple microwave trick to turn everyday ingredients into a smooth, creamy delight. It’s ideal for those times when you need a hit of sweetness fast.

Learning this fudge recipe condensed milk trick means you can enjoy homemade treats without the usual cooking hassle. You’ll find it’s incredibly easy to make, giving you more time to celebrate with your family.
Key Takeaways
- Create decadent desserts in less than five minutes using your microwave.
- Avoid the hassle of stovetop boiling while achieving professional results.
- Perfect for busy holiday schedules or sudden sweet cravings.
- Use simple, accessible ingredients to craft high-quality snacks.
- Enjoy a stress-free baking experience that saves you valuable time.
The Magic of Using Condensed Milk for Fudge
The secret to a perfect chocolate fudge recipe is sweetened condensed milk. It’s a shortcut to success, unlike traditional methods that need careful temperature control and constant sugar monitoring.
Sweetened condensed milk has most of the water removed and lots of sugar added. This makes it the best base for a creamy condensed milk dessert. The high sugar content stops big, gritty sugar crystals from forming, a common problem in old-fashioned fudge recipes.
When you mix this thick liquid with quality chocolate, the milk proteins and fats stabilize the mix. As it cools, these elements create a stable, sliceable block. You won’t have to worry about it becoming too soft or grainy, thanks to the condensed milk’s consistent texture.
This method is like what professional confectioners do, but easier. It gives you that melt-in-your-mouth feel that’s key to a great chocolate fudge recipe. It’s the easiest way to enjoy a rich treat without the hassle of traditional candy making.
Essential Ingredients for Your Homemade Fudge Recipe
Starting your homemade fudge recipe journey means picking the best ingredients. Quality ingredients ensure your fudge tastes great and feels right. Preparing these items early makes the process easier.
Selecting the Right Chocolate Quality
The chocolate you pick is key to your dessert. Semi-sweet chocolate chips are a top choice for their rich flavor. Milk chocolate gives a creamier taste but might be softer.
For the best taste, use high-quality baking chips. They melt well. Check the table below to pick the chocolate that suits you best.
| Chocolate Type | Sweetness Level | Firmness | Best Use |
|---|---|---|---|
| Semi-Sweet | Moderate | High | Classic fudge |
| Milk Chocolate | High | Low | Creamy treats |
| Dark Chocolate | Low | Very High | Rich, intense flavor |
The Role of Sweetened Condensed Milk
Sweetened condensed milk is crucial for binding your mix. It adds moisture and sugar for a smooth texture. Without it, your fudge might be grainy or fall apart.
This sweet ingredient balances dark or semi-sweet chocolate’s bitterness. Make sure to use sweetened condensed milk, not evaporated milk. This choice is key to a great homemade fudge recipe.
Adding Texture with Nuts and Mix-ins
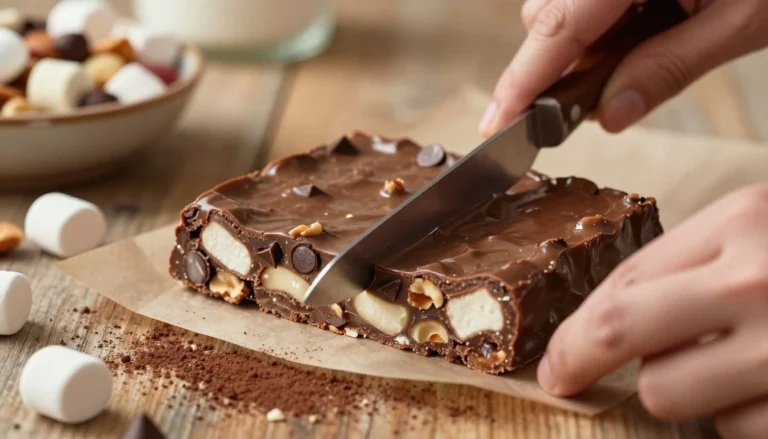
Once you’ve got the basics down, try adding nuts or other mix-ins. Chopped nuts add a nice crunch. For a softer fudge, add mini marshmallows or dried fruit.
These mix-ins can turn your easy fudge recipe into a special treat. Just mix them in before pouring the fudge into your pan. This step adds flavor and looks to your homemade snacks.
Preparing Your Kitchen and Equipment
Getting a professional look on your homemade treats starts before you start cooking. Proper preparation is key to making sure your fudge turns out right. It should set well and come out of the pan easily.
Organizing your space and picking the right tools helps reduce stress while cooking. This makes it easier to focus on getting the perfect consistency for your treats.
Choosing the Correct Pan Size
The size of your pan affects the fudge’s thickness and texture. A pan that’s too big will make the fudge too thin and brittle. On the other hand, a pan that’s too small might stop the mixture from setting right.
An 8×8 inch square pan is usually the best choice for most recipes. It’s the right size for even cooling and a rich, dense texture.
| Pan Size | Fudge Thickness | Setting Time |
|---|---|---|
| 8×8 Inch | Standard/Ideal | Moderate |
| 9×9 Inch | Thin | Fast |
| 9×13 Inch | Very Thin | Very Fast |
Lining Your Pan for Easy Removal
Using parchment paper to line your baking dish is a top tip. It makes a non-stick barrier that keeps the fudge from sticking to the pan.
To make it easy to handle, cut two parchment paper strips wider than your pan. Place them in a cross pattern, with overhangs on all sides.
When your fudge is set, lift it out of the pan using these handles. This makes cutting easier, giving you neat, even squares without any hassle.
Mastering the Quick Fudge Recipe Condensed Milk Method
Getting the heating right is key to making a top-notch dessert at home. When you make a quick fudge recipe, how you mix the ingredients affects the texture and taste of your treat.
Melting Chocolate and Condensed Milk Safely
To keep your chocolate fudge recipe smooth, use gentle heat. The microwave is great, but be patient to avoid the chocolate from getting too hard.
- Use a microwave-safe glass bowl for your ingredients.
- Heat in short, 30-second intervals at 50% power.
- Stir well between each interval to spread the heat evenly.
Achieving the Perfect Consistency
Your easy fudge recipe is ready when it looks shiny and even. It should be thick enough to stick to the back of a spoon but not too fast.
Consistency is key for a great batch. If it’s too thin, stir for another minute. The heat will usually melt it perfectly.
Avoiding Common Pitfalls During Heating
Even a simple easy fudge recipe can go wrong if you heat it too fast. Overheating is the main mistake, as it separates the cocoa butter from the solids.
If you see an oily sheen, you’ve heated it too much. To avoid a grainy chocolate fudge recipe, follow these tips:
- Don’t go over the recommended microwave power.
- Don’t over-mix once the chocolate melts.
- Watch the temperature closely for a quick fudge recipe that stays creamy.
By following these steps, you’ll get a smooth, rich treat every time. Paying close attention to the heating phase ensures a chocolate fudge recipe that wows your guests.
Flavor Variations to Elevate Your Simple Fudge Recipe
Making your dessert unique is the best part of a simple fudge recipe. By tweaking a few ingredients, you can turn a basic batch into a special treat. Trying out new flavors lets your creativity in the kitchen shine.
Creating Classic Peanut Butter Fudge
Swap some of the chocolate for creamy peanut butter to make a tasty twist. This mix gives a rich, nutty taste that goes well with sweet condensed milk. Mix in the peanut butter when it’s still warm for a smooth texture.
Infusing Flavors with Extracts and Spices
Adding extracts can add deep flavors to your sweets. A few drops of peppermint can make your treat festive. Maple extract is great for autumn gatherings. You can also add cinnamon or nutmeg to deepen your simple fudge recipe.
Incorporating Dried Fruits and Sea Salt
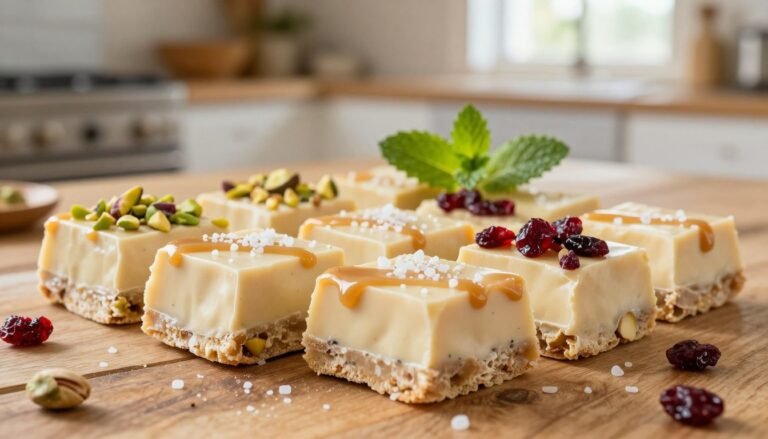
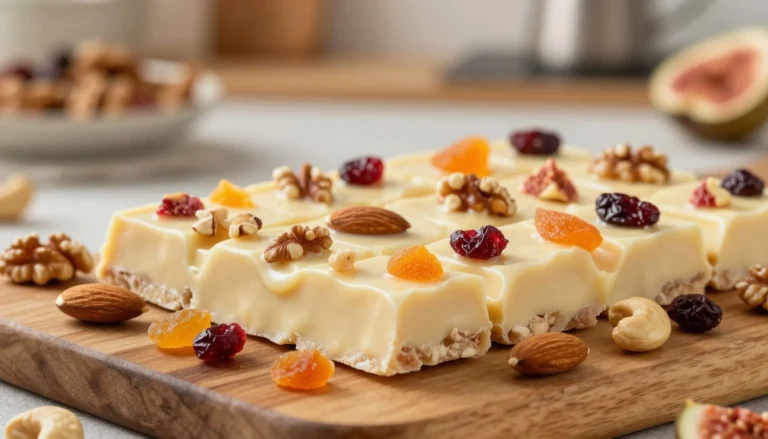
For a different texture, mix in chopped dried fruits like cranberries or apricots. They add a chewy bite that contrasts with the fudge’s creaminess. A sprinkle of flaky sea salt on top balances the sweetness, making your fudge sophisticated.
Exploring these variations keeps your simple fudge recipe exciting. Whether you like sweet, savory, or fruity flavors, there’s always something new to try.
Techniques for Achieving the Best Fudge Recipe Texture
To make the best fudge recipe, you need more than just mixing. You must be precise. Getting that melt-in-your-mouth feel is all about how you handle the mix at the end. By focusing on these steps, you’ll get a pro result every time.

The Importance of Proper Stirring
Stirring is key, not just for mixing. It’s about emulsification. Stirring the chocolate and condensed milk creates a stable mix. Gentle stirring keeps the fats even, so the mix doesn’t separate as it cools.
Don’t over-stir once the chocolate melts. Fast or hard stirring can introduce air. This can change the treat’s density. Keep your stirring smooth for a glossy look.
Cooling and Setting Times Explained
Patience is crucial when waiting for your fudge to set. Avoid quick cooling by freezing the pan. Let it cool slowly at room temperature or in the fridge for the best sugar crystal formation.
“The secret to a perfect confection lies in the patience of the maker; let the cooling process do the work for you.”
Most recipes need two to four hours to set right. Cutting too soon can ruin the look. Wait until the center is firm before slicing.
Troubleshooting Grainy or Soft Fudge
Even with the best fudge recipe, texture issues can happen. Graininess often comes from sugar crystallizing too early. If it’s too soft, it might not have cooled enough.
| Issue | Primary Cause | Recommended Fix |
|---|---|---|
| Grainy Texture | Overheating or impurities | Use high-quality chocolate |
| Too Soft | Insufficient cooling time | Refrigerate for two hours |
| Oily Surface | Separation of fats | Stir in a splash of milk |
If your fudge won’t set, don’t worry. You can fix a soft batch by reheating it and adding more chocolate. Learning these tricks will help you make the best fudge recipe for everyone.
Creative Presentation Ideas for Your Delicious Snacks
Turning your homemade fudge into a stunning gift is the last step. The taste is key, but beautiful presentation makes it special. It turns simple snacks into professional treats. Whether for a holiday party or a friend, these details matter a lot.
Cutting Uniform Squares for Gifting
Getting clean, sharp edges is crucial for a professional look. Use a sharp, thin-bladed knife for perfect squares. Before cutting, warm the knife under hot water and dry it with a cloth.
This trick helps the knife cut smoothly without messing up the edges. Use a ruler to mark your lines lightly for even cuts. This makes each piece look deliberately crafted and perfect for a gift box.
Decorative Toppings and Garnishes
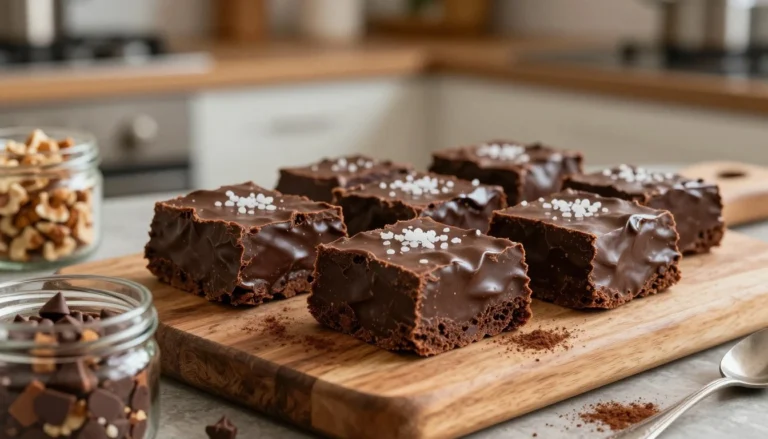
After cutting, add a personal touch with creative toppings. They make the dessert more appealing and hint at the flavors inside. Try pressing a pecan half into each square or dusting with sea salt.
For a festive vibe, use colorful sprinkles or edible gold leaf. Apply garnishes when the fudge is still slightly tacky. This keeps them in place during transport or display.
| Occasion | Garnish Idea | Packaging Style |
|---|---|---|
| Holiday Gifting | Crushed peppermint | Clear cellophane bags |
| Dinner Party | Sea salt flakes | Ceramic serving tray |
| Casual Snack | Toasted walnuts | Airtight glass jar |
Storing and Preserving Your Homemade Treats
Keeping your homemade fudge recipe fresh for weeks is all about proper storage. You worked hard to make it perfect, so you want every bite to be as good as the first. Heat and humidity can quickly change the texture of your treat.
Room Temperature vs Refrigeration
Where you store your treats depends on the ingredients and your home’s temperature. If your kitchen is cool and dry, you can store your homemade fudge recipe in an airtight container on the counter for up to two weeks.
But if your home is warm or humid, it’s better to refrigerate. Here’s how to keep your fudge in top shape:
- Always use an airtight container to prevent the fudge from absorbing other odors in the fridge.
- Place parchment paper between layers to keep the pieces from sticking together.
- Allow the fudge to reach room temperature for a few minutes before serving for the best texture.
Freezing Fudge for Long-Term Storage
Freezing is great for holidays or special events. Your homemade fudge recipe can last up to three months in the freezer without losing flavor.
To freeze, wrap the block or individual squares tightly in plastic wrap. Then, put the wrapped fudge in a heavy-duty freezer bag or a sealed container to prevent freezer burn.
When you’re ready to enjoy, move the fudge to the fridge overnight to thaw slowly. This gentle thawing helps keep the smooth consistency that everyone loves.
Pairing Your Fudge with Other Desserts
Fudge is more than just a snack; it’s a great match for drinks and desserts. Its creamy texture makes it a perfect bridge between simple and sophisticated dessert displays. At any event, adding fudge to a dessert bar with cakes, cookies, and cobblers makes it extra special.

Serving Fudge with Coffee and Tea
Chocolate fudge’s sweetness pairs well with coffee’s bitterness. A dark roast coffee balances the fudge’s richness. For tea lovers, a strong Earl Grey or spicy chai complements the cocoa flavors.
For a refined tasting experience, cut fudge into small cubes. This makes it easier to enjoy without feeling too sweet. A small piece of fudge next to a hot mug looks inviting and professional.
Incorporating Fudge into Ice Cream Sundaes
Turning fudge into a topping can make ice cream even better. Warm small fudge pieces to make a luxurious sauce that sticks to ice cream. This mix of warm and cold is a classic favorite.
Use larger fudge pieces as a textural element in sundaes. Add nuts, berries, or whipped cream for a delightful variety of textures. Try different fudge flavors like peanut butter or sea salt to customize your sundae.
Healthier Twists on the Classic Condensed Milk Dessert
If you love the classic condensed milk dessert, you can make it healthier. Just a few changes to your ingredients can make a big difference. You can still enjoy your favorite treats without hurting your health goals.
Using Dark Chocolate for Antioxidants
Choosing high-quality dark chocolate is a great way to improve your recipe. Opt for bars with at least 70% cocoa to boost the beneficial antioxidants. This change adds a richer flavor that complements the creamy base perfectly.
“The secret to a healthier indulgence lies in the quality of your ingredients, not just the quantity.”
Reducing Sugar Content Without Sacrificing Taste
Managing sugar intake is key when making a condensed milk dessert. Try using sugar-free condensed milk alternatives found in most stores. These keep your fudge firm while controlling sweetness.
If you prefer regular ingredients, cut down on sugary mix-ins. Use natural flavor boosters like vanilla extract or sea salt instead. These tweaks keep your dessert tasty and healthy for all to enjoy.
Common Questions About Sweet Condensed Milk Recipe Success
Getting the perfect homemade treat can raise some questions. Whether you’re new to baking or have been doing it for years, knowing the science behind your ingredients is key. This knowledge helps you make the best fudge recipe every time.
Can You Use Evaporated Milk Instead?
Many bakers wonder if they can swap ingredients when they run out. But, sweetened condensed milk and evaporated milk are not the same. Sweetened condensed milk is thick and syrupy, with lots of sugar, which is crucial for your fudge.
Evaporated milk is thinner and doesn’t have enough sugar. Using it in a sweet condensed milk recipe might make your mixture stay liquid or grainy. For the best results, always use the exact ingredient called for in your recipe.
Why Did My Fudge Not Set Properly?
If your fudge is too soft or doesn’t firm up, it’s often because of temperature or ingredient ratios. Make sure the chocolate and milk mix is heated just right. Overheating can make the fats separate, leading to a greasy texture.
Also, the quality of the chocolate in your best fudge recipe matters. Using high-quality chocolate chips with consistent cocoa butter content helps the fudge solidify as it cools. Check the table below for common texture issues and how to fix them.
| Issue | Primary Cause | Recommended Fix |
|---|---|---|
| Fudge is too soft | Insufficient cooling time | Refrigerate for at least four hours |
| Grainy texture | Overheating the chocolate | Use a double boiler for gentle heat |
| Separated fats | Poor quality ingredients | Use premium chocolate chips |
| Does not set | Wrong milk type used | Ensure sweetened condensed milk is used |
Conclusion
Making professional-quality sweets at home is simpler than you think. This easy fudge recipe shows that you don’t need fancy tools or lots of time to get great results.
You can now turn simple ingredients into delicious treats. Each sweet condensed milk recipe is a chance to show off your cooking style. Try adding things like crushed peppermint, toasted walnuts, or sea salt to make your fudge special.
Your kitchen is the best place to try out these flavors. Whether it’s a gift for a friend or a quick snack for your family, these methods will help you succeed. Start making your next batch today and enjoy the fun of making homemade fudge.
FAQ
Can I substitute evaporated milk for sweetened condensed milk in this fudge recipe condensed milk?
No, you should not swap these ingredients. Sweetened condensed milk, like Eagle Brand, has a special mix of sugar and milk solids. These are key for the fudge to set right. Evaporated milk is thinner and doesn’t have enough sugar for a solid fudge. Using it will make your fudge a liquid mess, not a tasty treat.
Why did my easy fudge recipe turn out grainy or oily?
Graininess often comes from heating the chocolate too much or not stirring well enough. When making quick fudge, heat your Nestle Toll House chocolate chips in short, 30-second bursts. Heating too long can make the cocoa butter separate, causing oiliness. Stirring gently and consistently helps mix the milk and chocolate fats for the best fudge texture.
How long does this chocolate fudge recipe need to chill before I can serve it?
Let your fudge cool at room temperature for at least an hour before refrigerating. It usually takes two to four hours to set fully. For a holiday event, chilling it overnight will make it firm enough to handle easily.
What is the best way to get clean, professional cuts on my homemade fudge recipe?
For clean cuts, use a warm, sharp knife. Dip your blade in hot water, then wipe it dry with a towel before cutting. Repeat this for each slice. This method stops the fudge from sticking and gives smooth edges.
Can I use dark chocolate instead of semi-sweet chips for a healthier version?
Yes, dark chocolate like Ghirardelli 60% Cacao adds flavor and antioxidants. It makes the fudge firmer because of its cocoa content. This balances the sweetness of the condensed milk while keeping the fudge solid.
How should I store my fudge to maintain its freshness?
Store your fudge in an airtight container at room temperature for up to two weeks, or in the fridge for up to three weeks. For a holiday rush, freeze it for up to three months. Wrap it tightly in plastic wrap and foil to prevent freezer burn.
What are the best mix-ins to add variety to a simple fudge recipe?
Add different textures to your fudge. Try Diamond chopped walnuts for crunch, Jet-Puffed marshmallows for rocky road, or Skippy peanut butter for a swirl. For a gourmet touch, add Morton sea salt or dried cranberries.
Do I need a candy thermometer for this easy fudge recipe?
No, you don’t need a candy thermometer or to test the “soft ball stage.” The sweetened condensed milk is already stable with sugar. This makes the microwave method easy for beginners and busy families.