Simple and Easy Recipes Dessert Ideas
Table of Contents
Easy Fudge Recipe with Condensed Milk for Beginners
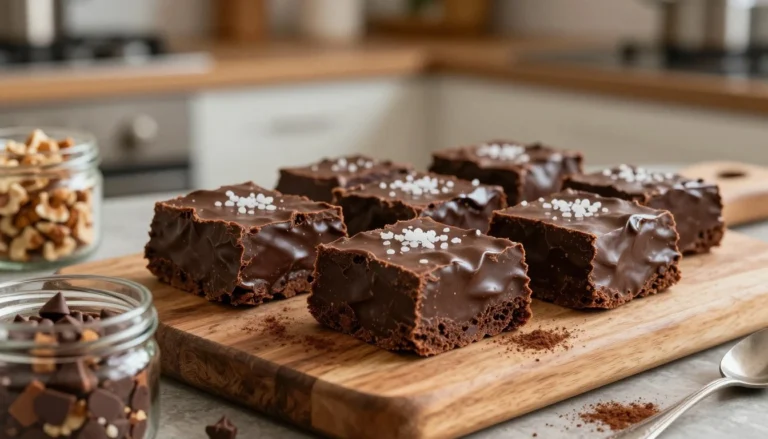
Imagine serving a decadent chocolate treat that looks like it came from a professional confectionery. You don’t need years of culinary training to make homemade sweets. This easy fudge recipe with condensed milk makes it simple for your first try at candy making.
Many people feel scared of traditional candy thermometers and complex boiling stages. But this method takes away the guesswork. It ensures a *smooth, velvety texture* every time you cook. Making these rich, chocolatey squares is fast and rewarding.
Our guide offers clear, easy steps for beginners to follow in their own kitchen. You’ll get a straightforward approach that always works for any special event or holiday. Get ready to wow your friends and family with these delicious, melt-in-your-mouth bites.
Key Takeaways
- Requires very few ingredients for a successful batch.
- Eliminates the need for specialized candy-making equipment.
- Guarantees a creamy and consistent texture for novices.
- Significantly reduces the active preparation time in the kitchen.
- Offers a versatile base for various flavor additions.
- Provides a perfect solution for quick homemade gifts.
Why Condensed Milk Makes Perfect Fudge Every Time
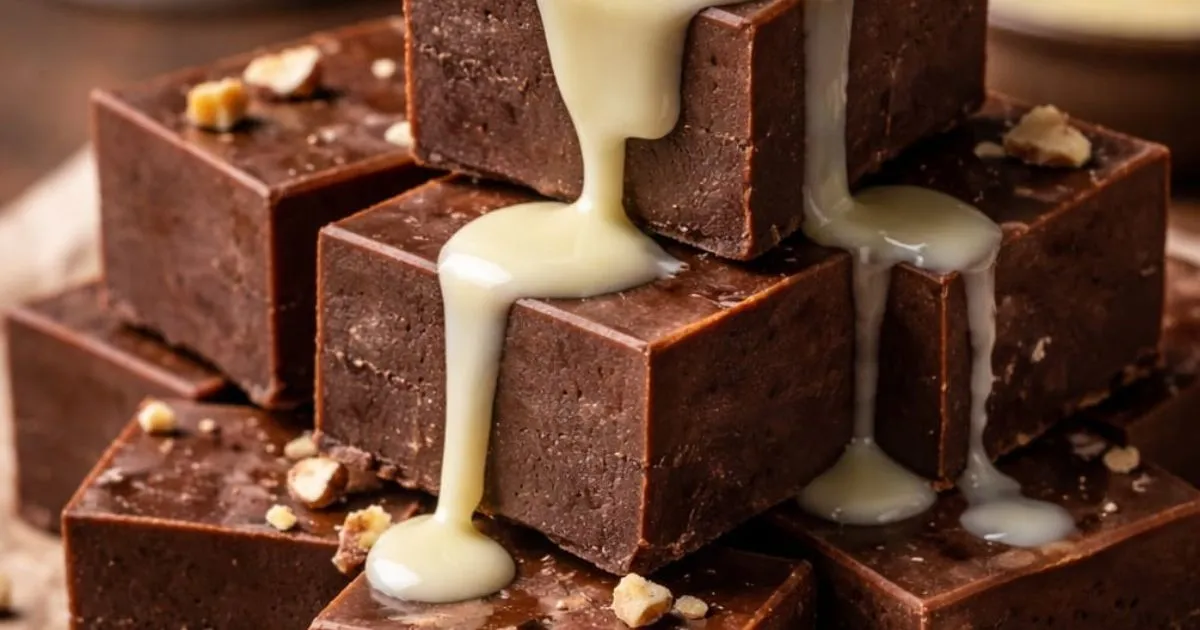
Condensed milk has changed the game for making fudge at home. It’s easy to make delicious treats because of its rich, creamy texture and sweet flavor. This makes the traditional fudge-making process simpler.
The Secret Behind Foolproof Condensed Milk Fudge
The secret to perfect fudge with condensed milk is its unique makeup. It’s made by evaporating milk, leaving a thick, creamy liquid with lots of sugar. This cuts down cooking time and lowers the chance of fudge becoming grainy.
Using condensed milk in your fudge recipe means you get a smooth, velvety finish. This is great for beginners because it reduces the risk of common mistakes.
How Condensed Milk Simplifies Traditional Fudge Making
Traditional fudge recipes need careful temperature control and constant stirring. Condensed milk changes this by offering a sweet, creamy base that needs less monitoring. This makes it easier to get professional-quality fudge without the trouble.
| Aspect | Traditional Fudge Making | Condensed Milk Fudge Making |
|---|---|---|
| Temperature Control | Requires precise temperature control | Less critical due to condensed milk’s properties |
| Stirring | Constant stirring necessary | Less stirring required due to condensed milk’s consistency |
| Sweetness | Sugar needs to be carefully measured and cooked | Condensed milk provides consistent sweetness |
Condensed Milk vs Evaporated Milk: What’s the Difference
Condensed milk and evaporated milk are both made by evaporating milk, but they differ in sugar content. Condensed milk is sweetened, perfect for desserts like fudge. Evaporated milk is unsweetened and would need extra sugar in fudge recipes.
When choosing between condensed milk and evaporated milk for fudge, think about sweetness and simplicity. For easy, tasty fudge, go with condensed milk.
Essential Ingredients and Tools You’ll Need
Creating perfect condensed milk fudge starts with knowing the key ingredients and tools. Making fudge is simple with the right stuff.
Core Ingredients for Your Basic Fudge
To make a basic easy fudge recipe with condensed milk, you need a few top-notch ingredients. The quality of these ingredients greatly affects your fudge’s taste and texture.
Sweetened Condensed Milk Requirements
Sweetened condensed milk is the main ingredient for fudge. Choose a high-quality, full-fat version for the best results. Low-fat or non-fat types can change the texture and taste.
Choosing the Right Chocolate
The chocolate you pick greatly influences your fudge’s flavor. Use high-quality chocolate chips or chopped bars. You can choose milk, dark, or white chocolate based on your taste.
| Chocolate Type | Description | Best Use |
|---|---|---|
| Milk Chocolate | Sweet and creamy | Perfect for a classic fudge flavor |
| Dark Chocolate | Rich and intense | Ideal for those who prefer a deeper chocolate flavor |
| White Chocolate | Sweet and vanilla-like | Great for a unique twist on traditional fudge |
Must-Have Kitchen Tools and Equipment
Along with the right ingredients, you need the proper tools and equipment for condensed milk fudge. Here are a few basic items to start with.
- A medium-sized saucepan
- A wooden spoon or silicone spatula
- A 9×9 inch baking pan
- Parchment paper or aluminum foil for lining the pan
Preparing Your Workspace for Success
Before starting, prepare your workspace well. Clear countertops, gather all needed ingredients and tools, and make sure your baking pan is ready. This prep makes the process easier and more fun.
Having everything you need close by lets you focus on making delicious easy fudge recipe with condensed milk. A well-prepared workspace is crucial for making great fudge.
Easy Fudge Recipe with Condensed Milk: Step-by-Step Instructions
This easy fudge recipe with condensed milk will guide you to perfect results. Making fudge at home is fun, and condensed milk makes it simpler.
Step 1: Prepare Your Baking Pan
Before starting, prepare your baking pan well. This ensures your fudge will come out easily.
Lining and Greasing Techniques
Line your pan with parchment paper or aluminum foil, leaving some overhang. Then, grease it lightly with butter or cooking spray. This prevents sticking and makes cutting easier.
Step 2: Combine Chocolate and Condensed Milk
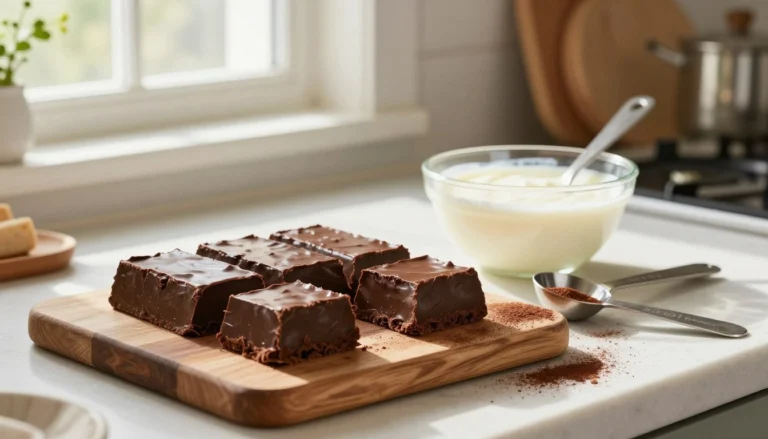
Now, mix the chocolate and condensed milk, the heart of your fudge. You can use a double boiler or the microwave.
Double Boiler Method
The double boiler method melts the chocolate gently with condensed milk. Place them in a heatproof bowl over simmering water, stirring occasionally until smooth.
Microwave Method for Quick Results
For quick melting, use the microwave. Heat in 30-second bursts, stirring between each, until smooth.
| Method | Time | Advantages |
|---|---|---|
| Double Boiler | Slower, variable | Gentle heating, less risk of burning |
| Microwave | Faster, 1-2 minutes | Quick results, easy to manage |
Step 3: Stir Until Completely Smooth
Stir the chocolate and condensed milk mixture until smooth. This ensures creamy fudge.
Recognizing the Perfect Consistency
The mixture is ready when smooth with no lumps. Be careful not to overheat in the microwave to avoid seizing.
Step 4: Add Your Flavor Enhancers
Add flavor enhancers to boost your fudge’s taste.
Vanilla Extract and Salt
Vanilla extract and a pinch of salt enhance flavor. Vanilla adds sweetness, while salt balances it.
Optional Mix-ins
Add nuts, dried fruits, or candy pieces for different flavors. Fold them gently into the mixture.
Step 5: Pour and Spread Evenly
Pour the mixture into your pan and spread it evenly. Make sure to cover the corners and smooth the top.
Step 6: Cool and Set Your Fudge
Let the fudge cool and set. This step is key for the right texture.
Refrigeration Timeline
Refrigerate the fudge to set. It usually takes about 2 hours, depending on size and fridge temperature.
Step 7: Cut into Perfect Squares
Once set, remove the fudge from the fridge. Use the parchment or foil to lift it out. Cut it into squares with a sharp knife.
Follow these steps to make delicious fudge with condensed milk, perfect for any occasion.
Troubleshooting Common Fudge Problems
Having trouble with your fudge? Don’t worry, we’ve got solutions for common issues. Making fudge with condensed milk is usually easy, but problems can still happen. Let’s look at some common problems and how to fix them.
Fixing Grainy or Separated Fudge
Grainy or separated fudge can be a letdown. But, it’s often caused by simple mistakes. Graininess usually comes from undissolved sugar or cooling too fast. To avoid this, make sure your sugar dissolves fully while heating. Then, let the mixture cool a bit before pouring it into your pan.
If your fudge is already grainy, you can still fix it. Try melting it down and setting it again. A gentle re-heating and re-cooling might solve the problem.
What to Do If Your Fudge Won’t Set
Fudge that won’t set can be frustrating. This often happens if it’s not heated right or cooled wrong. Check your thermometer to make sure it’s working right. The wrong temperature can make your fudge too soft.
If your fudge still won’t set, try heating it again to the right temperature. Then, cool it down slowly. Be patient and watch the temperature closely to get it just right.
Preventing Fudge from Being Too Hard or Too Soft
The texture of your fudge is key, and getting it just right can be hard. Fudge that’s too hard might be overcooked, while too soft means it wasn’t cooked enough. To avoid this, keep an eye on the cooking temperature and don’t overcook it.
- Cook the fudge mixture to the correct temperature (usually around 235°F to 240°F).
- Avoid overcooking, as this can make the fudge too hard.
- Let the fudge cool and set properly before cutting into it.
Avoiding Burned Chocolate
Burned chocolate can ruin your fudge’s flavor. To avoid this, stir constantly when melting chocolate. Take it off the heat as soon as it’s melted. Using high-quality chocolate helps too, as it melts smoothly and is less likely to burn.
If your chocolate starts to burn, take it off the heat right away. Stir in a bit of cold butter or milk to stop the cooking.
Delicious Flavor Variations and Add-ins
Making fudge with condensed milk opens up a world of flavors. You can mix and match ingredients to create treats that everyone will love. It’s a great way to explore different tastes and preferences.
Classic Chocolate Fudge Variations
Chocolate fans will love the many ways to make classic chocolate fudge better. Try using different chocolates or adding flavors to make it unique.
Dark Chocolate Fudge
Dark chocolate fudge has a deeper, richer taste. Use dark chocolate chips or bars for this.
White Chocolate Fudge
White chocolate fudge is sweet and creamy. It’s perfect for those who like a milder chocolate taste. You can add vanilla or citrus zest for extra flavor.
Peanut Butter Swirl Fudge
Peanut butter swirl in chocolate fudge is a tasty mix. Melt peanut butter with chocolate or cream, then swirl it into the fudge before it sets.
Nutty and Crunchy Mix-ins
Nuts or crunchy elements add texture and flavor to fudge. Try walnuts, pecans, or even cookie and candy pieces.
Walnut and Pecan Options
Walnuts and pecans add a nutty taste to fudge. Just chop them and mix them into the fudge before pouring it into a pan.
Cookie and Candy Pieces
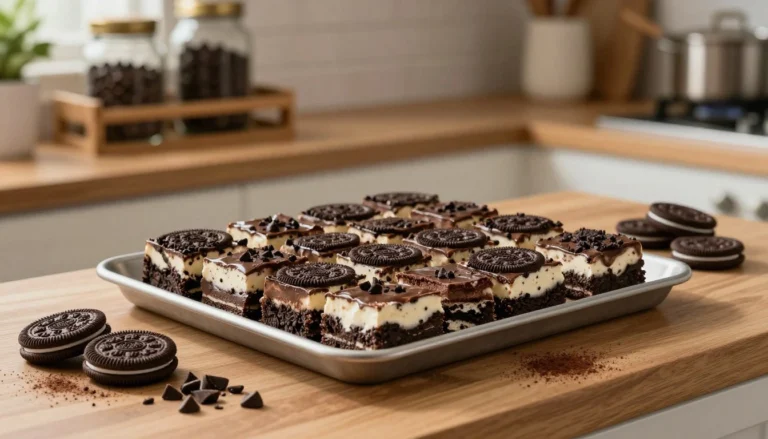
Adding cookie or candy pieces makes fudge fun. Use crushed Oreos, M&M’s, or chopped peanut butter cups for a unique taste.
Holiday and Seasonal Flavors
Fudge is a favorite during holidays and special times. You can make seasonal flavors by using ingredients that match the season.
Peppermint Fudge
Peppermint fudge is a holiday classic. Add peppermint extract or crushed candy canes for a refreshing twist.
Salted Caramel Fudge
Salted caramel is a great holiday flavor. Mix in caramel sauce and sea salt for a rich, indulgent fudge.
Storing, Serving, and Gifting Your Homemade Fudge
After making your easy fudge with condensed milk, you might wonder about storage, presentation, and gifting. Storing it right is key to keeping it fresh and tasty.
Proper Storage for Maximum Freshness
Storing your fudge correctly is crucial. The method you choose depends on when you plan to eat or give it away.
Room Temperature Storage
For a short time, you can store your fudge at room temperature. Use an airtight container to keep it fresh. Place parchment paper between layers to prevent sticking. Your fudge can stay fresh for up to 2 weeks this way.
Refrigerator and Freezer Options
For longer storage, refrigerate or freeze your fudge. Refrigeration can keep it fresh for up to 3 weeks. Wrap it tightly in plastic or foil and store in an airtight container. If you choose to freeze your fudge, it can last 3 months. Just wrap it well and store in a freezer-safe container or bag.
How Long Does Condensed Milk Fudge Last
The shelf life of your fudge varies by storage method. It can last up to 2 weeks at room temperature, 3 weeks in the fridge, and 3 months in the freezer. Always check for spoilage before eating, no matter the storage.
Creative Serving and Presentation Ideas
Presenting your fudge creatively can enhance its enjoyment. Try cutting it into shapes with cookie cutters for fun. You can also top your fudge with nuts, sprinkles, or edible glitter for a pop of color. Serving it on a decorative platter or individual plates can impress at any event.
Packaging Fudge as Homemade Gifts
Giving homemade fudge as a gift is a kind gesture. Use decorative tins, jars, or boxes to make it look appealing. Wrap individual pieces in cellophane bags or wax paper and add a ribbon for a personal touch. Don’t forget to include a gift tag or card with your name and the fudge’s flavor.
Conclusion
Now that you know how to make fudge with condensed milk, it’s time to get creative. You can try different flavors and mix-ins. This easy recipe lets you make delicious treats for any occasion.
By following the simple steps in this article, you can make perfect fudge every time. It doesn’t matter if you’re new to making fudge or if you’re experienced. Using condensed milk makes the process easy and ensures your fudge is smooth and creamy.
So, go ahead and try new flavor combinations. Share your homemade condensed milk fudge with friends and family. Its rich, velvety texture and delicious taste will make it a favorite treat.
FAQ
Can I substitute a fudge recipe with evaporated milk for one that calls for condensed milk?
You can make fudge with evaporated milk, like the Carnation “Famous Fudge.” But, you can’t swap it for condensed milk fudge. Condensed milk fudge needs the sugar and thick texture of Eagle Brand Sweetened Condensed Milk to set right. Using evaporated milk in a condensed milk recipe will keep your fudge soft and won’t set.
Why is sweetened condensed milk preferred for beginner fudge recipes?
A: Sweetened condensed milk makes fudge easy to make without a candy thermometer. The sugar is already mixed in, so you avoid grainy fudge. This way, you get a no-fail fudge that’s creamy, rich, and perfect every time.
What is the best type of chocolate to use for a smooth finish?
Use top-quality chocolate chips or bars for the best results. Ghirardelli or Hershey’s chocolate works well. Stay away from cheap or “imitation” chocolate, as it can make your condensed milk fudge separate or become oily.
How can I prevent my chocolate from burning during the melting process?
To avoid burnt chocolate, use a double boiler or the microwave on 50% power. If microwaving, heat in 30-second bursts, stirring well each time. This keeps the heat even and your chocolate smooth.
My fudge won’t set and remains too soft. How can I fix this?
If your fudge is too soft, it might not have enough chocolate. Try adding more Ghirardelli chocolate chips to the mixture. Also, let the fudge chill in your Pyrex dish for two to four hours before slicing.
How should I store my homemade fudge to keep it fresh?
Store your fudge in an airtight container at room temperature for up to two weeks. Wrap the fudge in Reynolds Kitchens parchment paper for freshness. For longer storage, refrigerate for three weeks or freeze for up to three months.
Can I add texture to my fudge without ruining the set?
Yes! Add Fisher Walnuts, Jet-Puffed Marshmallows, or crushed Oreo cookies to your condensed milk fudge. Wait until the chocolate and milk mix is smooth and slightly cool before adding them. This keeps your add-ins crunchy and prevents melting.