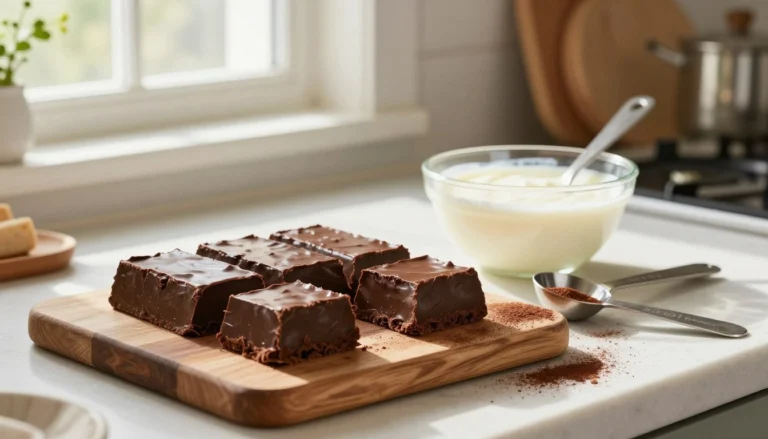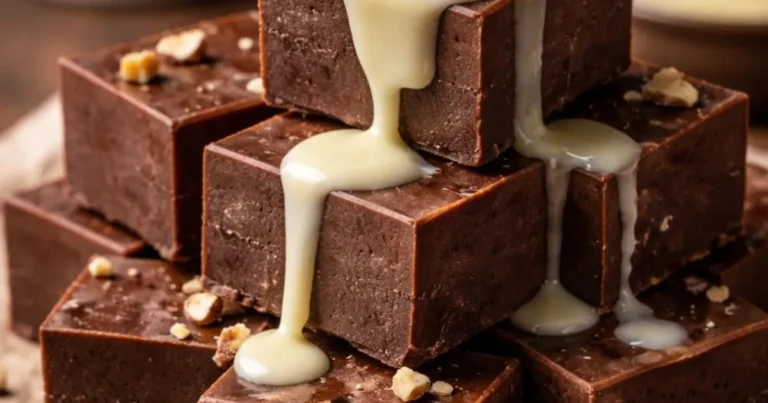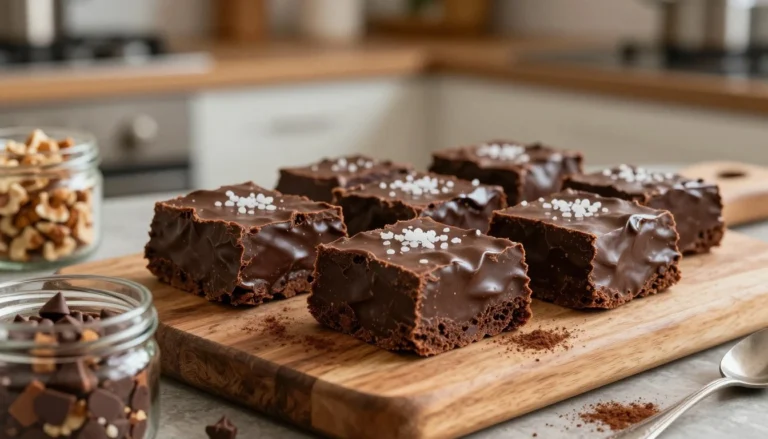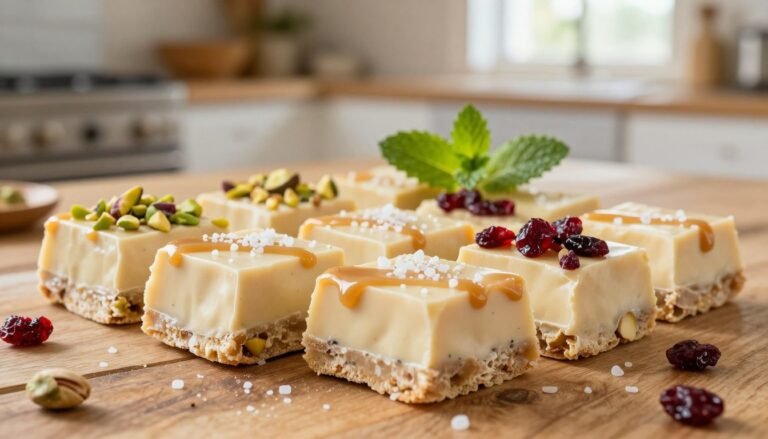
Delicious Oreo Fudge Recipe – Easy & Indulgent
Table of Contents
Delicious Oreo Fudge Recipe – Easy & Indulgent
Do you remember dunking a chocolate sandwich cookie in cold milk? It brings back fond childhood memories of snacks and laughter. Now, you crave that creamy taste but want something more to share.

Making delicious oreo fudge is easy and quick. You only need three basic ingredients and your microwave. It’s perfect for a sudden sweet craving without stress.
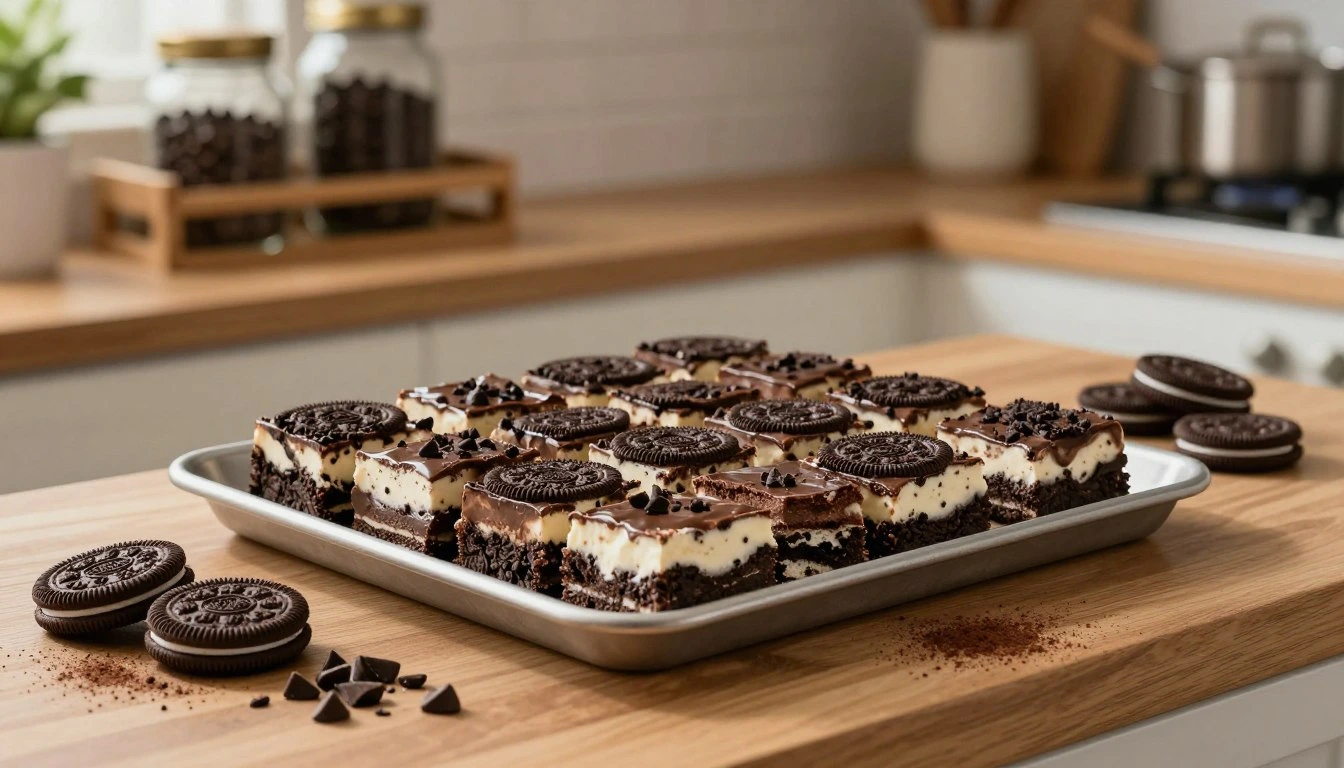
This easy oreo fudge combines crunchy cookie bits with smooth white chocolate. It’s the ultimate quick dessert for any time or occasion.
Key Takeaways
- Requires only three basic ingredients for a rich treat.
- Preparation is incredibly fast using a standard microwave.
- Features a classic cookies and cream flavor profile.
- Perfect for holiday parties or simple homemade gifts.
- Requires no stovetop boiling or specialized candy thermometers.
- Offers a smooth texture combined with crunchy cookie pieces.
Why This Oreo Fudge Recipe Will Become Your Go-To Dessert
If you’re searching for a dessert that combines cookies and cream, this Oreo fudge recipe is perfect. It stands out with its unique textures and flavors, making it a favorite among oreo dessert recipes.
This homemade oreo fudge is special because it’s easy to make and tastes amazing. It’s a treat that’s easy to make but packs a big flavor punch.
The Perfect Balance of Cookies and Cream
This best oreo fudge recipe is loved for its perfect mix of cookies and cream. The Oreo cookies add a nice crunch, while the fudge is smooth and creamy.
This mix is achieved by blending ingredients carefully and following a simple recipe. The result is a dessert that’s both familiar and excitingly new.
| Component | Contribution to Flavor | Texture |
|---|---|---|
| Oreo Cookies | Rich, chocolatey flavor | Crunchy |
| Creamy Fudge | Sweet, creamy taste | Smooth |
| Combined Effect | Balanced, indulgent flavor | Varied, engaging texture |
Minimal Effort, Maximum Flavor
This oreo fudge recipe is a go-to because it’s so easy to make. With just a few ingredients and simple steps, you can make a dessert that will wow everyone.
The steps are simple: melt the chocolate, mix in the Oreo cookies, and let it set. This results in a complex dessert that’s surprisingly easy to make.
What You’ll Need for Perfect Oreo Fudge
Before you start making your delicious Oreo fudge squares, it’s essential to gather all the necessary ingredients and equipment.
Essential Ingredients
The success of your quick Oreo fudge depends on using the right ingredients. Here’s a breakdown of what you’ll need:
Chocolate Components
- White chocolate chips or white chocolate bars for a creamy base
- Semi-sweet chocolate chips for a rich, chocolatey flavor
Oreo Cookies and Mix-ins
- Oreo cookies, crushed or whole, depending on your preference
- Optional mix-ins like nuts or sprinkles to customize your oreo chocolate fudge
Binding Ingredients
- Condensed milk to bind the ingredients together
- Butter to enhance the texture and flavor
Required Kitchen Equipment
Having the right kitchen equipment is just as important as having the right ingredients. Here’s what you’ll need:
- A medium saucepan for melting the chocolate and other ingredients
- A 9×9 inch baking pan lined with parchment paper for setting the fudge
- Mixing bowls for preparing the ingredients
- A spatula for stirring and pouring the fudge mixture
Easy Oreo Fudge Recipe: Step-by-Step Instructions
Making your own oreo fudge at home is simple. We’ll guide you through it. With just a few ingredients and easy steps, you’ll enjoy homemade oreo fudge soon.
Step 1: Prepare Your Pan and Ingredients
Lining Your Pan Properly
First, line your pan with parchment paper or aluminum foil. This prevents the fudge from sticking. Leave some overhang on the sides for easy removal later.
Crushing the Oreos
Next, crush the Oreo cookies. Use a food processor or a plastic bag and a rolling pin. Aim for a mix of fine crumbs and larger chunks for the best texture.
Step 2: Melt the Chocolate Base
Stovetop Method
To melt the chocolate base, use the stovetop. Place the chocolate and condensed milk in a saucepan over low heat. Stir constantly until smooth. Be careful not to let it boil.
Microwave Method
Or, melt the chocolate base in the microwave. “Dance Around the Kitchen” suggests this method is quick and efficient. Heat the chocolate and condensed milk in short intervals, stirring between each heating until smooth.
Step 3: Incorporate the Oreo Cookies
Folding Technique
Once the chocolate base is melted, add the crushed Oreos. Use a gentle folding technique to distribute the Oreos evenly. This helps maintain the texture.
Layering Options
For an extra-special touch, layer some whole Oreos in the fudge before it sets. This adds a fun surprise to the finished product.
Step 4: Pour and Set the Fudge
Spreading Evenly
Pour the fudge mixture into your prepared pan and spread it evenly. Make sure to get into the corners for a smooth finish.
Refrigeration Times
Refrigerate the fudge until it’s set. The time required will depend on the size of your fudge and the temperature of your fridge. Typically, it takes a few hours.
Step 5: Cut into Perfect Squares
Best Cutting Tools
To cut your fudge into perfect squares, use a sharp knife. A knife dipped in hot water and wiped dry can help achieve clean cuts.
Achieving Clean Edges
For the cleanest edges, cut the fudge when it’s firm but not too hard. This makes it easier to get smooth, even cuts.
Pro Tips for Making the Best Oreo Fudge
Making the best Oreo fudge requires a few key techniques. We’ve got expert advice on temperature control, texture, and common mistakes to avoid.
Temperature Control Tips
Temperature is key for the best Oreo fudge. Keep a close eye on it to get it just right.
Avoiding Overheating
Overheating can make your fudge too hard or burnt. Use a candy thermometer to track the temperature. Or, test it by dropping a bit into cold water; if it’s soft, it’s ready.
Optimal Setting Temperature
The best temperature for Oreo fudge is 68°F to 72°F (20°C to 22°C). Make sure your workspace is at this temperature for the fudge to set well.

Texture Perfection Secrets
Getting the right texture is key for Oreo fudge recipe success. Here are some tips to help you achieve it.
Achieving Creamy Consistency
For a creamy texture, stir the mixture well and don’t overcook it. Adding a bit of corn syrup can also keep it smooth.
Getting the Right Firmness
The firmness of your fudge depends on setting time. For firmer fudge, refrigerate for 2 hours. For softer, set it at room temperature.
Common Mistakes to Avoid
Even experienced cooks can make mistakes with Oreo fudge. Here are some common errors to watch out for:
- Not using a candy thermometer, leading to overheating or underheating the mixture.
- Not stirring the mixture enough, resulting in an uneven texture.
- Not letting the fudge set long enough, causing it to be too soft.
By avoiding these mistakes and following our tips, you’ll make the best Oreo fudge ever.
Creative Variations of Homemade Oreo Fudge
Try new flavors and textures with these unique Oreo fudge twists. You can make your Oreo fudge special for any event or taste by adding different ingredients and mix-ins.
Double Stuffed Oreo Fudge
Make classic Oreo fudge even better with Double Stuffed Oreos. The extra cream filling makes it creamy and rich. Just swap regular Oreos with Double Stuffed ones in your recipe.
Peanut Butter Oreo Fudge
Give your Oreo fudge a tasty twist with peanut butter. Mix it into the fudge or layer it with chocolate for a peanut butter swirl. It’s a perfect mix for peanut butter fans.
Mint Oreo Chocolate Fudge
Make your Oreo fudge refreshing with mint. Use peppermint extract or mint-flavored Oreos for a cool dessert. It’s great for the holidays or any time you want a refreshing treat.
White Chocolate Oreo Fudge
Try white chocolate Oreo fudge for a sweeter treat. White chocolate and Oreos make a smooth, indulgent dessert.
Birthday Cake Oreo Fudge
Make any occasion special with Birthday Cake Oreos in your fudge. This flavor adds a festive touch and a sweet, cake-like taste. It makes the fudge even more tempting.
These creative Oreo fudge variations will impress you and your loved ones. Don’t be afraid to mix and match to find your new favorite delicious Oreo fudge recipe.
How to Store Your Oreo Fudge Squares
To keep your Oreo fudge squares fresh and delicious, it’s essential to store them correctly. Proper storage maintains the texture and flavor, ensuring that every piece remains as delightful as the first.
Room Temperature Storage
Storing Oreo fudge squares at room temperature is a viable option if you plan to consume them within a few days. It’s crucial to keep them in an airtight container to prevent moisture and other flavors from affecting the fudge.
Best Containers to Use
For room temperature storage, use containers that are airtight and non-reactive. Glass or plastic containers with tight-fitting lids are ideal. You can also use decorative tins or containers lined with parchment paper to prevent sticking.
Shelf Life at Room Temperature
Oreo fudge squares can last up to 5 days when stored properly at room temperature. However, this can vary depending on the humidity and temperature of your environment.
Refrigerator Storage
For longer storage, consider keeping your Oreo fudge squares in the refrigerator. This method is particularly useful in warm or humid climates where room temperature storage might not be ideal.
Preventing Moisture Issues
To prevent moisture from affecting the fudge, ensure it’s wrapped tightly in plastic wrap or aluminum foil before placing it in an airtight container. This step helps maintain the fudge’s texture.
How Long It Stays Fresh
When stored in the refrigerator, Oreo fudge squares can remain fresh for up to 2 weeks. It’s a good practice to check on them periodically to ensure they haven’t developed any off-flavors or textures.
Freezing Oreo Fudge for Later
Freezing is an excellent way to extend the shelf life of your Oreo fudge squares. It allows you to store them for several months without significant loss of quality.
Proper Freezing Technique
To freeze Oreo fudge squares, wrap them tightly in plastic wrap or aluminum foil and then place them in a freezer-safe, airtight container or freezer bag. This method prevents freezer burn and keeps the fudge fresh.
Thawing Instructions
When you’re ready to enjoy your frozen Oreo fudge squares, simply remove them from the freezer and let them thaw at room temperature for a few hours or thaw them in the refrigerator overnight.

| Storage Method | Shelf Life | Tips |
|---|---|---|
| Room Temperature | Up to 5 days | Use airtight containers |
| Refrigerator | Up to 2 weeks | Wrap tightly, use airtight containers |
| Freezer | Several months | Wrap tightly, use freezer-safe containers |
Serving Suggestions for Your Delicious Oreo Fudge
Your delicious Oreo fudge is ready! Here are some creative ways to serve it. Serving your quick Oreo fudge can make any occasion special. Let’s explore some ideas to make your dessert stand out.
Presentation Ideas
Presentation is key when it comes to serving your Oreo fudge. You can make it visually appealing with the right packaging or arrangement.
Presentation Ideas
Presentation is key when it comes to serving your Oreo fudge. You can make it visually appealing with the right packaging or arrangement.
Gift Packaging Options
Consider packaging your Oreo fudge in decorative tins or jars for a thoughtful gift. You can also wrap individual pieces in cellophane bags and tie them with a ribbon for a personalized touch.
Party Platter Arrangements
For a party, arrange your Oreo fudge squares on a platter with other desserts. You can create a pattern or mix it with fresh fruits and nuts for a colorful display.
Pairing Recommendations
Pairing your Oreo fudge with the right beverages or desserts can enhance the overall experience.
Beverage Pairings
A glass of cold milk or a hot cup of coffee pairs perfectly with Oreo fudge. For a more adult twist, consider pairing it with a dessert wine or a coffee liqueur.
Complementary Desserts
Oreo fudge goes well with other desserts like cheesecake, brownies, or fruit salad. You can create a dessert buffet with a variety of treats to satisfy different tastes.
Portion Sizes and Serving Tips
When serving Oreo fudge, consider cutting it into bite-sized pieces for easier consumption. This is especially useful for parties or gatherings where guests might want to try a variety of desserts.
| Occasion | Recommended Portion Size | Serving Tip |
|---|---|---|
| Party | Bite-sized squares | Arrange on a platter with other desserts |
| Gift | Individual wrapped pieces | Package in decorative tins or jars |
| Family Gathering | Medium-sized squares | Serve on a dessert plate with a scoop of ice cream |
Troubleshooting Your Quick Oreo Fudge
Making perfect Oreo fudge is not just about following a recipe. It’s also about knowing how to fix common problems. Several things can change the texture and consistency of your fudge. Knowing these can help you get the best results.
Why Is My Fudge Too Soft?
Soft fudge can be a letdown, especially after waiting for it to set. There are a few main reasons why your Oreo fudge might be too soft.
Insufficient Chilling Time
If your fudge hasn’t chilled long enough, it won’t set right. Make sure to refrigerate it for at least 2 hours before cutting.
Incorrect Ingredient Ratios
Too much cream or not enough chocolate can make your fudge soft. Double-check your measurements to get it right.
Why Did My Fudge Turn Out Grainy?
A grainy texture in fudge often comes from melting problems or sugar crystallization.
Overheating Issues
Overheating the chocolate or sugar can cause sugar to crystallize, making it grainy. Keep the heat low and stir constantly when melting.
Sugar Crystallization Problems
Sugar crystallization happens if the mixture isn’t stirred well or cools too slowly. To avoid this, stir your mixture thoroughly and avoid introducing any sugar crystals into the mixture.
How to Fix Separated Fudge
Sometimes, fudge can separate, making it look bad. Luckily, there are ways to fix and prevent this.
Rescue Techniques
If your fudge separates, try gently remelting it and stirring well. This might fix the texture.
Prevention Methods
To stop separation, avoid overheating the mixture and stir well. Also, don’t add cold ingredients to hot mixtures.
Here’s a quick guide to common issues and fixes in a table:
| Issue | Cause | Fix |
|---|---|---|
| Soft Fudge | Insufficient chilling, incorrect ingredient ratios | Chill longer, adjust ingredient ratios |
| Grainy Fudge | Overheating, sugar crystallization | Avoid overheating, prevent sugar crystallization |
| Separated Fudge | Overheating, inadequate stirring | Remelt and stir, prevent overheating |
Nutritional Information and Dietary Considerations
Knowing what’s in your homemade Oreo fudge is key for smart eating. Enjoying this treat while knowing its nutritional facts helps you eat well.
Calorie Count Per Serving
A single piece of Oreo fudge has about 150-200 calories. This depends on how big it is and the ingredients used. Here’s a detailed look:
Macronutrient Breakdown
| Nutrient | Amount Per Serving |
|---|---|
| Calories | 175 |
| Fat | 9g |
| Carbohydrates | 22g |
| Protein | 2g |
Making Oreo Fudge with Dietary Restrictions
Homemade Oreo fudge can be tailored for different diets. Here are some tips:
Gluten-Free Alternatives
To make it gluten-free, pick gluten-free Oreo cookies. Some brands have gluten-free Oreos. Also, check that chocolate and condensed milk are gluten-free.
Reduced Sugar Options
Lower sugar content is possible with sugar-free condensed milk or less sugar. Try sugar substitutes like stevia or erythritol.
Vegan Oreo Fudge Adaptations
For a vegan version, use vegan chocolate and dairy-free condensed milk. Look for vegan Oreos or make your own with vegan ingredients.
With these changes, you can enjoy homemade Oreo fudge that fits your diet. Whether you need it gluten-free, with less sugar, or vegan, these tips help you indulge without giving up on your diet.
Conclusion
Now you know how easy it is to make our Oreo fudge recipe. Just a few ingredients and simple steps are all you need. You can satisfy your sweet tooth and impress everyone with this tasty treat.
Don’t be afraid to try different variations and tips. Whether you love the classic cookies and cream or want to try something new like peanut butter or mint Oreo fudge, you can do it. The options are endless.
By following our easy recipe, you’ll soon have your own homemade Oreo fudge. So, go ahead and give it a try. Enjoy the rich, creamy goodness that makes this dessert a favorite among all.
FAQ
Can I use different types of Nabisco cookies for other oreo dessert recipes?
Absolutely! You can use Golden Oreos, Lemon Oreos, or Red Velvet Oreos to create unique flavors for your desserts.
What is the secret to making the best oreo fudge with the right consistency?
The secret is using high-quality white chocolate and not boiling the sweetened condensed milk. Gentle melting gives the fudge a creamy texture.
How should I cut the oreo fudge squares so they don’t crumble?
Use a sharp knife dipped in hot water. Wipe the blade dry after each cut to prevent sticking.
Is this considered a quick oreo fudge compared to traditional boiled fudge?
Yes, it’s quicker because it uses chocolate chips and condensed milk. You don’t need a candy thermometer.
Can I swap white chocolate for dark to make an oreo chocolate fudge?
You can. Dark chocolate chips make a deeper, more intense fudge, like a brownie.
Why is my homemade oreo fudge sticking to the parchment paper?
It might not be fully chilled. Spend at least 4 hours in the fridge. Lightly spray parchment with Pam Cooking Spray before pouring.