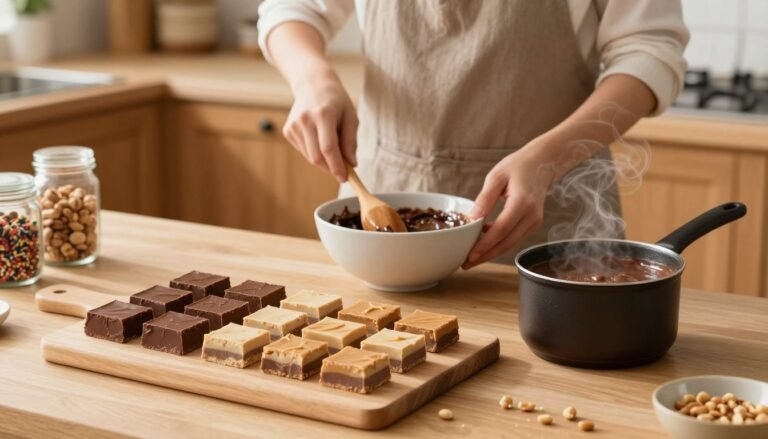
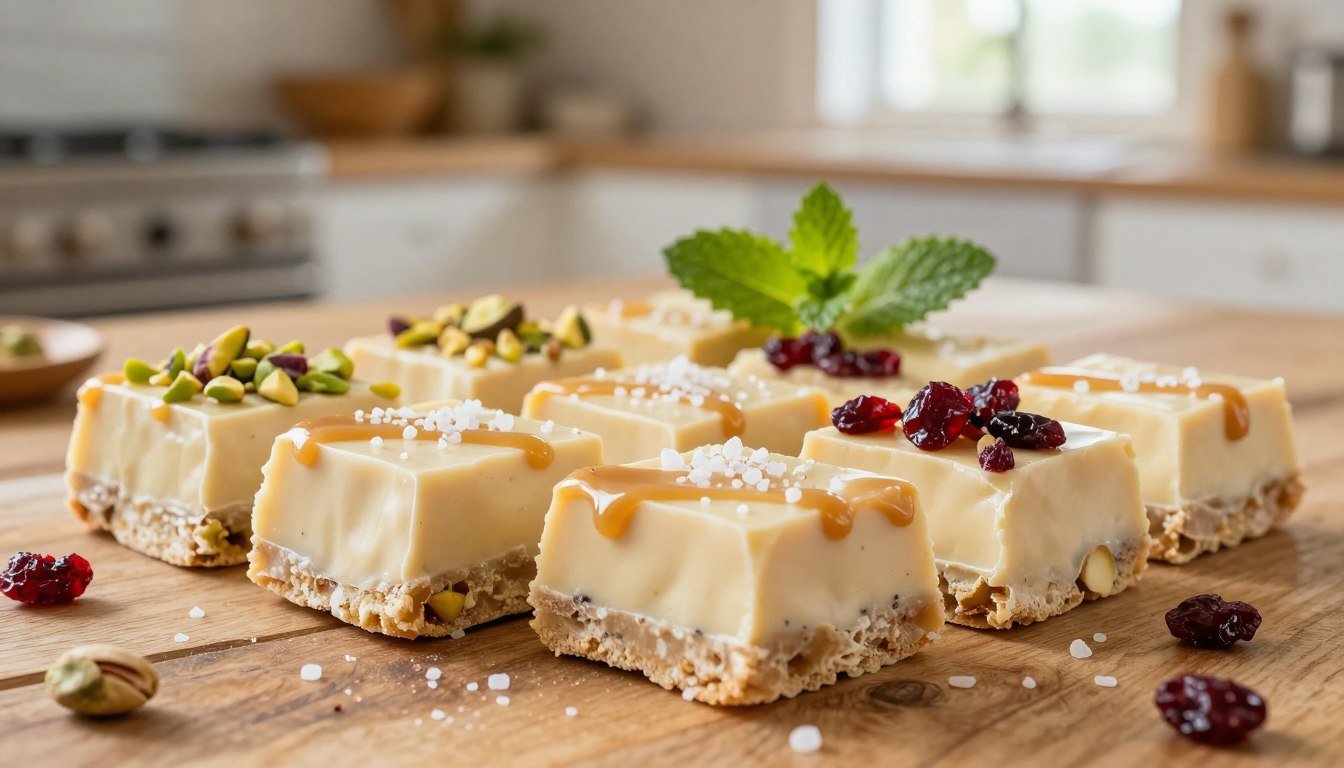
White Chocolate Fudge Recipe Creamy and Delicious
Do you remember the joy of a homemade treat melting on your tongue? Making creamy white chocolate fudge in your kitchen is truly magical. It brings back memories of cozy afternoons and laughter with loved ones.
This delicious white chocolate fudge recipe is easy and quick. You just need sweet chips, condensed milk, and a bit of salted butter. It’s designed to be easy, so you get that perfect, buttery texture every time.
Whether it’s for a friend or your own treat, this fudge is always a winner. Take your time to enjoy each bite. The vanilla and cream notes make it a timeless favorite for any moment.
Key Takeaways
- Master a simple three-ingredient method for perfect results.
- Achieve a smooth, buttery texture that melts in your mouth.
- Learn the secrets to balancing sweetness with a hint of salt.
- Discover how to prepare a decadent dessert without complex equipment.
- Enjoy a versatile treat that is ideal for holidays or casual snacking.
The Art of Making Creamy White Chocolate Fudge
Making white chocolate fudge can be easy if you know the basics. It’s all about balancing sugar, fat, and heat. This balance turns simple ingredients into a delicious treat.
White chocolate is often misunderstood because it doesn’t have dark cocoa solids. But it’s made from cocoa butter, sugar, and milk solids. This gives it a creamy taste. Making simple white chocolate fudge is about stabilizing these fats for a smooth texture.
The secret to its texture is sweetened condensed milk. It adds moisture and sugar, preventing crystals. With quality chocolate, it makes a firm yet soft fudge.
Let’s look at how these ingredients work together:
| Ingredient | Primary Function | Impact on Texture |
|---|---|---|
| White Chocolate | Provides cocoa butter base | Creates richness and structure |
| Condensed Milk | Adds sugar and moisture | Ensures a smooth, creamy finish |
| Vanilla Extract | Enhances flavor profile | Balances the sweetness |
| Pinch of Salt | Flavor contrast | Prevents cloying sweetness |
Learning this white chocolate fudge recipe lets you try new things. Start with the basics and then add your own touches. Use high-quality ingredients for the best results.
Essential Ingredients for the Best White Chocolate Fudge
Starting your journey to make easy white chocolate fudge means picking the right ingredients. The quality of your fudge depends on what you mix together.
Selecting High-Quality White Chocolate Chips
The heart of your dessert is the white chocolate. Choose chips with real cocoa butter for a luxurious, melt-in-your-mouth texture. Some prefer stevia-sweetened chips to keep sugar low but still creamy.
The Role of Sweetened Condensed Milk
A 14-ounce can of sweetened condensed milk is key. It gives your fudge structure and sweetness. Without it, your fudge won’t set right.
Adding Texture with Nuts and Dried Fruits
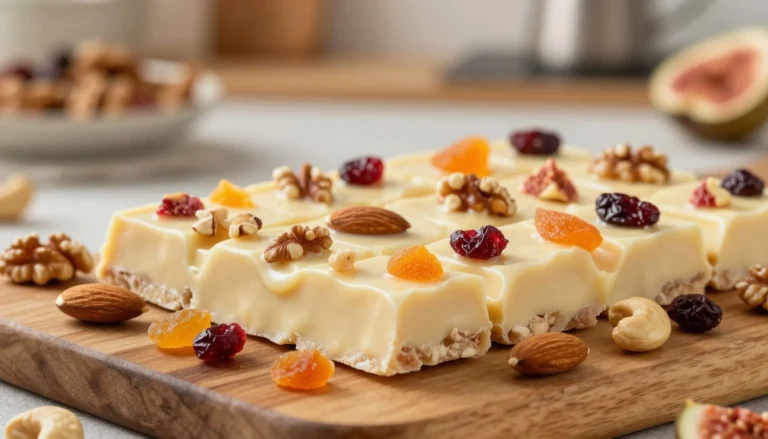
After getting the base right, add mix-ins for texture. Walnuts, pecans, or dried cranberries make your fudge interesting. They add a nice contrast to the smooth fudge.
| Ingredient | Primary Function | Pro-Tip |
|---|---|---|
| White Chocolate Chips | Flavor and Base | Use high cocoa butter content |
| Condensed Milk | Binding and Sweetness | Ensure it is full-fat |
| Nuts or Fruit | Texture and Contrast | Toast nuts before adding |
Equipment You Need for Success
Choosing the right equipment can make a big difference in your homemade white chocolate fudge. The right tools help your dessert set perfectly. This ensures it looks professional and silky every time.
Choosing the Right Pan for Even Setting
The size of your pan affects the thickness and look of your treat. A 6×6-inch dish makes thicker, indulgent squares. On the other hand, an 8×8-inch dish is better for thinner, bite-sized bars that are easy to share.
Always line your pan with parchment paper before adding the mixture. This makes it easy to lift the fudge out of the pan once it’s chilled. It also helps you get clean, sharp edges when you slice it.
Why a Heavy-Bottomed Saucepan Matters
A heavy-bottomed saucepan is crucial for bakers. Its thick base ensures even heat distribution. This prevents the chocolate from burning or becoming grainy during melting.
| Pan Size | Fudge Thickness | Best Use Case |
|---|---|---|
| 6×6 Inch | Thick and Rich | Gift boxes |
| 8×8 Inch | Standard/Thin | Party platters |
| 9×9 Inch | Very Thin | Quick snacking |
Step-by-Step White Chocolate Fudge Recipe
You can make a delicious dessert with just a few simple steps. This method works for both beginners and experienced bakers. It guarantees your fudge will always taste great.
“Cooking is at once child’s play and adult joy. And cooking done with care is an act of love.”
Preparing Your Workspace and Ingredients
Clear your counter before starting. This makes sure you have enough room to work. Mise en place is key; measure all your ingredients, like white chocolate chips and sweetened condensed milk, before heating.
Being prepared helps avoid stress while cooking. It’s crucial for making an easy white chocolate fudge that’s perfect every time.
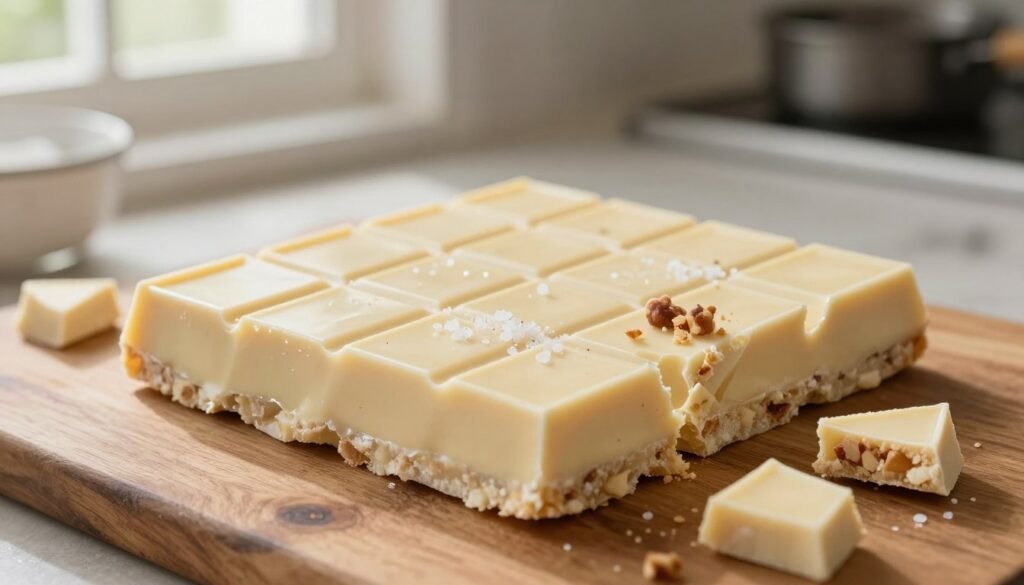
Melting the Chocolate and Condensed Milk Mixture
To melt your ingredients quickly, use a microwave. Put your chocolate and condensed milk in a microwave-safe bowl. Heat for 60 to 90 seconds.
It’s important to stir every 30 seconds. This prevents the chocolate from burning, a common mistake with white chocolate.
Achieving the Perfect Smooth Consistency
After the mixture is mostly melted, stir it until it’s silky smooth. If you see lumps, keep stirring gently until they melt.
A smooth texture is what makes your fudge special. By stirring carefully, you keep it smooth and without any grainy bits.
Tips for Achieving a Silky Texture
Getting a smooth, melt-in-your-mouth finish is easier than you think. When making a quick white chocolate fudge, the difference between a gritty and luxurious treat is in the process. Mastering these small details will improve your kitchen skills and ensure consistent results every time.
Avoiding Grainy Fudge Through Proper Temperature Control
Grainy texture usually happens when sugar crystals form too quickly or grow too large during cooling. To avoid this, you must control your heat source precisely. Never rush the melting process by using high heat, as this can cause the chocolate to scorch or separate.
Instead, use a gentle, low-heat approach to keep the mixture stable. If the temperature spikes, the fats in the white chocolate may break down, leading to a sandy mouthfeel. Keeping your mixture at a consistent, low temperature is the secret to a creamy white chocolate fudge that stays smooth for days.
The Importance of Constant Stirring
Stirring is not just about combining ingredients; it is a vital step in creating a stable emulsion. As your mixture begins to cool, the fats and sugars need to stay perfectly blended to prevent separation. If you stop stirring, you risk creating pockets of uneven texture that ruin the final product.
Follow these best practices to maintain a silky consistency:
- Use a silicone spatula to scrape the sides of the pan frequently.
- Stir in a steady, rhythmic motion to ensure even heat distribution.
- Continue stirring until the mixture is completely smooth and glossy.
- Avoid vigorous whipping, which can introduce unwanted air bubbles into your quick white chocolate fudge.
By keeping your movements consistent, you ensure that the ingredients remain fully integrated. This simple habit transforms a standard recipe into a truly professional-grade creamy white chocolate fudge that your friends and family will love.
Flavor Variations to Elevate Your Homemade White Chocolate Fudge
Mastering the basic recipe is just the start. You can turn your homemade white chocolate fudge into a canvas for endless creativity. By tweaking a few ingredients, you can make your dessert fit any taste or event. Experimenting with new ingredients is key to making your treats unique.
Infusing Extracts Like Vanilla and Almond
White chocolate’s natural sweetness is perfect for aromatic extracts. A splash of high-quality vanilla bean paste can elevate your homemade white chocolate fudge to a sophisticated level. For a nutty twist, a bit of almond extract can balance the richness.
Remember, extracts are strong. Start with a quarter teaspoon and taste before adding more. This way, the white chocolate stays the main attraction, with a delightful aromatic surprise in every bite.
Creating Seasonal Themes with Spices and Toppings
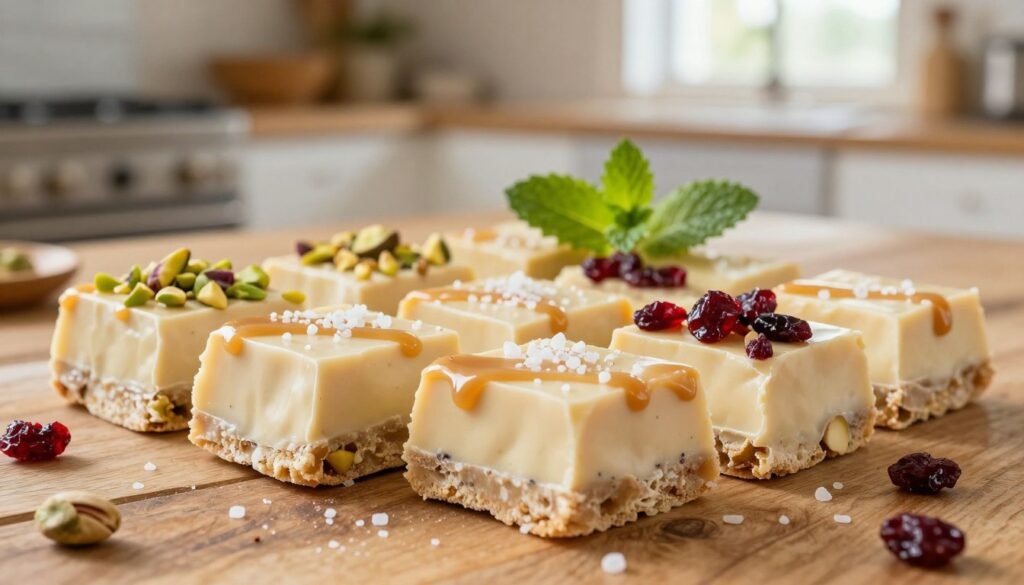
Adapt your recipe for any season with festive toppings and spices. Try adding crushed candy canes for a peppermint crunch or dried cranberries for a tart chewiness. These not only enhance the texture but also add beauty to your homemade white chocolate fudge.
For a rich twist, create swirls of creamy peanut butter or sprinkle warm spices like cinnamon or nutmeg on top. These creative touches let you celebrate the seasons through your baking. Whether for a gift or a party, these variations make your dessert unforgettable.
Troubleshooting Common Fudge Making Issues
Making the best white chocolate fudge is rewarding, but sometimes you hit a snag. Even seasoned bakers face problems. Luckily, most issues can be fixed with patience and the right approach.
Fixing Fudge That Will Not Set
If your fudge stays soft or sticky, don’t worry. It might be due to wrong ingredient ratios or not enough cooling time. Patience is key for the perfect fudge texture.
To fix it, chill the pan in the fridge for an extra hour. If it’s still too soft, heat it gently. Add a bit of white chocolate chips to thicken it before pouring back into the pan.
Correcting Seized Chocolate
Seized chocolate happens when moisture gets into the mix, making it grainy. It’s a common problem, but not a lost cause. Adding a bit of warm oil or cream can help.
Stir the liquid into the seized chocolate well until it’s smooth again. Quick action can save your fudge. Keep your workspace dry to avoid this problem later.
Storing and Preserving Your Fudge Bars
Keeping your fudge bars fresh is key to enjoying them fully. Whether for a party or a cozy night, proper storage is crucial. Follow a few simple steps to keep your dessert moist and flavorful.
Proper Refrigeration Techniques
For short-term storage, the fridge is perfect. Store your white chocolate fudge bars in an airtight container. This keeps them creamy and prevents odors from other foods.
- Use glass or plastic containers with tight-sealing lids.
- Place parchment paper between layers to prevent sticking.
- Keep the container toward the back of the fridge for a consistent temperature.
Freezing Fudge for Long-Term Enjoyment
Freezing is ideal for long-term storage. Your simple white chocolate fudge can stay fresh for up to three months. The right wrapping is essential for freezing.
Start by wrapping your white chocolate fudge bars in plastic wrap. This creates a moisture seal. Next, put them in a heavy-duty freezer bag or a sealed container. When you’re ready, thaw them in the fridge overnight for the best texture.
Creative Ways to Gift Your Delicious White Chocolate Fudge
When you make delicious white chocolate fudge, you create a gift that everyone will enjoy. Sharing your cooking is a kind way to show love to friends, family, and neighbors all year round.
Packaging Ideas for Holidays and Special Occasions
The way you present your treat is as key as its taste. For a classic look, put your squares in decorative tins with parchment paper. This keeps them fresh and safe.
For a clearer view, wrap each piece in clear cellophane bags with holiday ribbons. You can also use wooden boxes with twine and herbs for a unique, personal touch.
Pairing Fudge with Other Homemade Treats
You can make a special gift basket with your delicious white chocolate fudge. Add items like crisp sugar cookies or dark chocolate bark for variety.
Combining different sweets makes a thoughtful experience for the person getting it. Grouping these in a basket or wooden crate shows your gift is a quality, handmade item.
Conclusion
Making professional sweets at home is a fun and rewarding task. You now know how to turn simple ingredients into delicious white chocolate fudge bars. These bars can even rival those from fancy candy shops.
Using high-quality ingredients and controlling the temperature is key. This ensures your fudge bars are always smooth and creamy. You can also fix common problems, making each batch a success.
Don’t be afraid to try new flavors and toppings. These white chocolate fudge bars are a great canvas for your creativity. Whether you’re sharing them with friends or treating yourself, your homemade fudge will impress everyone.
Begin making your next batch today. Share these classic treats with the people you love. The process is easy, and the results are both beautiful and delicious.
FAQ
What is the best way to cut white chocolate fudge bars cleanly?
Chill your fudge in the fridge for at least four hours. Use a sharp knife, dipped in hot water and dried, for clean cuts. This method prevents sticking and tearing.
Can I make this white chocolate fudge recipe without a stovetop?
Yes, you can make it in the microwave. Mix your chips and condensed milk in a Pyrex bowl. Heat in short bursts, stirring often, until smooth and glossy.
Why did my easy white chocolate fudge turn out oily?
Oily fudge comes from overheating the white chocolate. Use low heat and remove it from the heat when the last chips melt.
How long does homemade white chocolate fudge stay fresh?
Store it in an airtight container at room temperature for a week. In the fridge, it lasts up to three weeks, perfect for holidays.
Is there a specific brand of chocolate recommended for the best white chocolate fudge?
Use high-quality brands like Ghirardelli or Guittard for the best results. Avoid “white morsels” without cocoa butter for smooth melting.
Can I add food coloring to a simple white chocolate fudge?
Yes, but use oil-based candy coloring. Water-based dyes will ruin the texture by causing it to seize.
What can I do if my white chocolate fudge is too sweet?
Balance the sweetness by adding a pinch of sea salt or tart dried fruits like cranberries. This adds depth to your fudge.